Getting Started With GST PLA+
We wanted to take a good look at GST PLA+ filament, because we've been hearing people talk about it quite a bit lately. It might be because they often run specials on their filament (at the time of this article, it was $12/kg directly at GST3D.com) and they have many colors. However, we like to start each review with a critical eye, to see if the value is there, even when it's inexpensive...
Packaging
Inside the traditional cardboard box, we found the spool to be very well sealed. Often with "discounted filament" you find the plastic sealing the filament is thin and as a result they can get punctured in shipping. Of course that's a really bad situation for filament, as it lets the air and moisture inside.
In this case, we found the plastic to be pretty thick and as you can see, it arrived very well sealed.
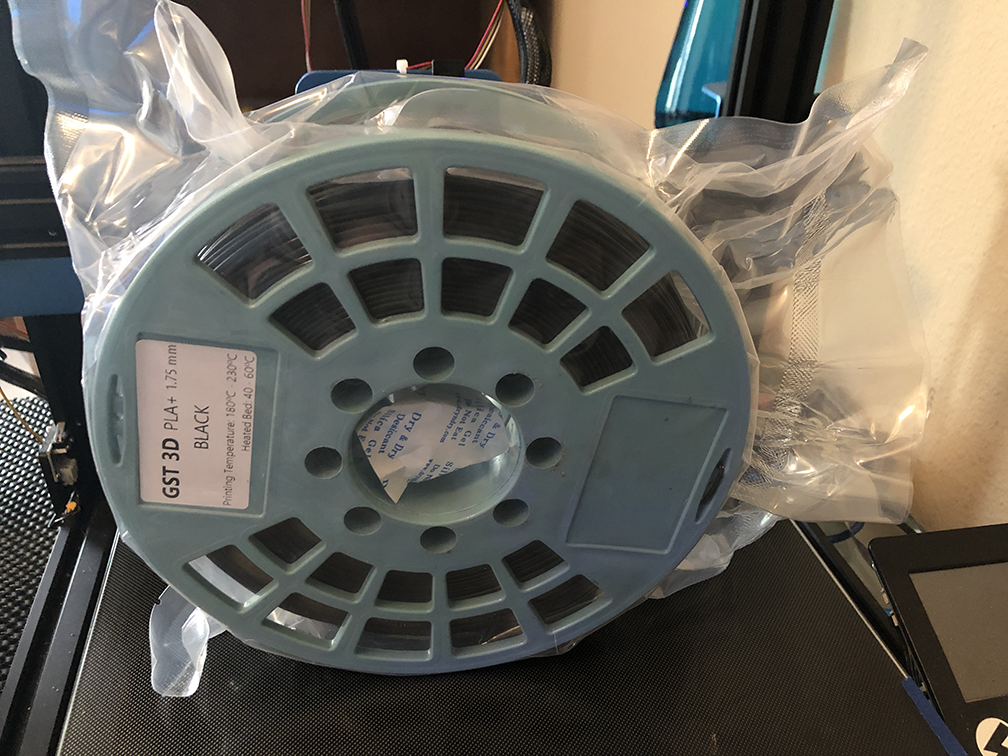
Information from the label:
- Printing temperature: 180C - 230C
- Heated Bed: 40C - 60C
Our Test Machine
We are printing this on our "work horse" printer:
- Sovol SV01:
- Upgraded E3D V6 all metal hot end,
- A .6mm NozzleX hardened steel nozzle,
- SKR 1.4 Turbo,
- BLTouch sensor
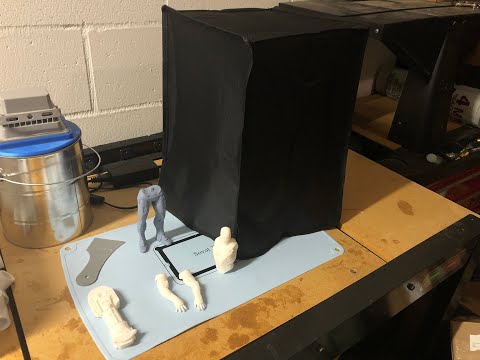
Our Test
Instead of printing some small mini figure at a tiny layer height, we thought we'd print a useful, functional print. After all, this is supposed to be PLA+, right? Let's see if it prints like it, and can stand up to being a little more heavy handed with the print. We want this thing to last, so let's see if GST delivers.
We needed a new towel holder, so of course, we went out to Thingiverse and found this cool design. Pretty simple setup and it looks like something you might buy in a store.
One thing about the design, the best way to print the main piece is to stand it upright on the bed. However, the rounded top could be a challenge if we didn't add supports. So in this case, we used Cura's standard supports and let it fill in the center. However, we always make sure our supports are dialed in so that they should pop right out - see our YouTube video about that.
Open It Up!
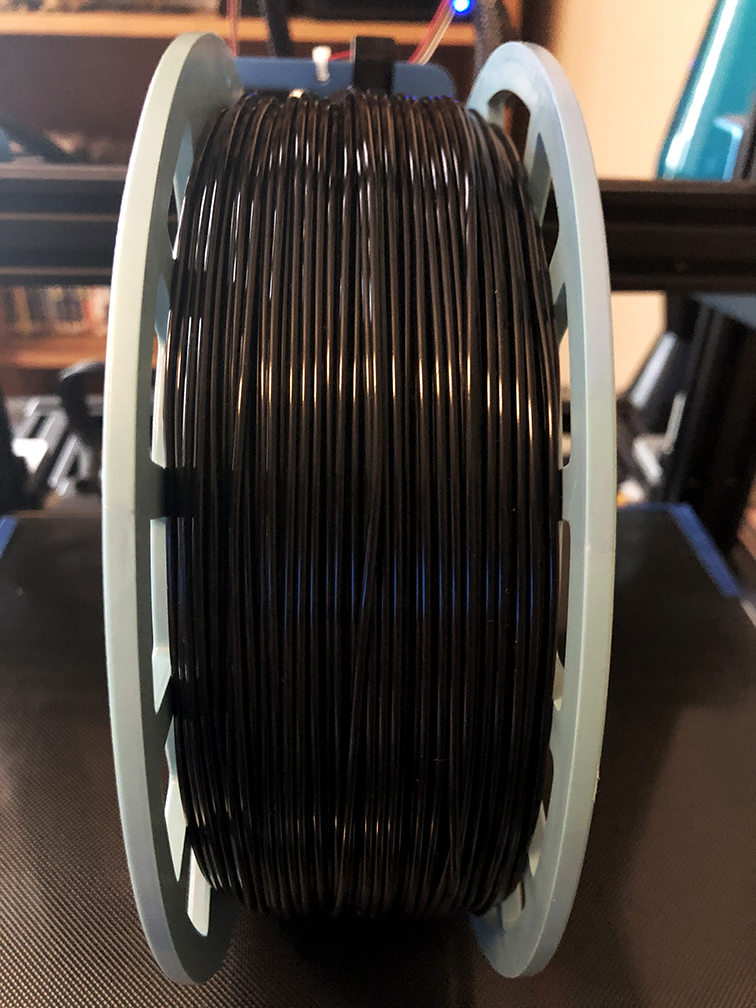
OK, after opening the vacuum sealed plastic, we wanted to see how well it was wound. Too often, "cheap" filament seems to tie itself together because they aren't careful when they put it on the spool. In this case, we were very impressed by their winding. Indeed, we had absolutely no issues with it feeding into our machine.
Take a look - very clean...
Setup
Taking a look at the recommended temperatures, and knowing our printer, we set it up this way:
- Temperature: 210C
- Bed: 60C
- Speed:
- Initial Layer: 30mm/s
- Everything else*: 80mm/s
- Layer Height: .3mm
- Bed Adhesion: Raft
* Everything else? Why print at one speed for everything after the initial layer? Generally speaking, this can help get rid of blobs, which are caused by having a constant pressure out of the nozzle, but slowing down/pausing the print head. If it keeps coming out at the same rate, it can leave some blobs as it changes speeds.
First Layers
So let's see how it went, after the raft was put down. By the way, in all of our tests, this stuff stuck really well to the bed in everything we printed with it. All we ever do is use our "magic formula" for bed adhesion:
- Glass bed flipped over, so smooth side is up
- Aquanet as a light mist (that stuff is like liquid vinyl!)
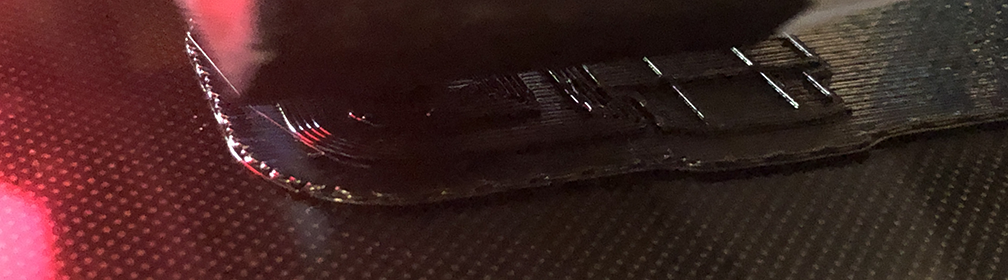
Remember that we're printing with a .6mm nozzle, and .3mm layer heights. I'd say that's a pretty good first layer!
The Print
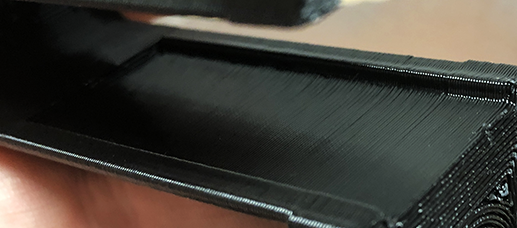
So, how'd it print the more complicated piece? The holder piece itself had the interior support structure that touched each internal wall and the top, had screw holes, and was pretty well rounded:
Pretty clean! Nice detail on the inside, too. Check out this "extreme closeup" - that's with the support piece removed, too. Great separation:
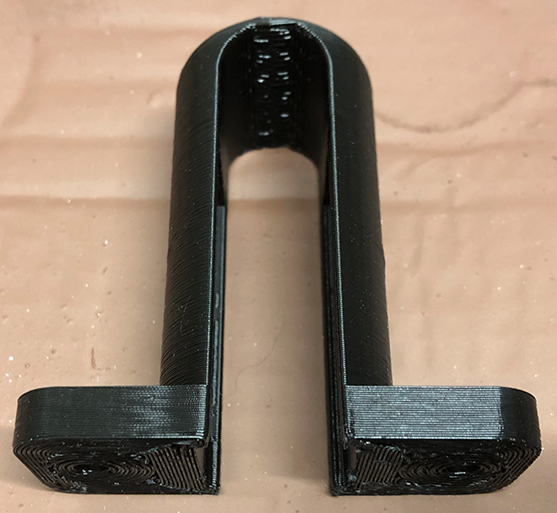
Speaking of the support, let's take a look:
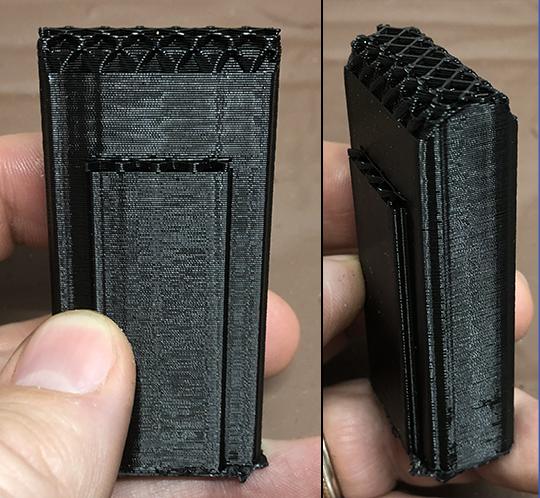
I mean, wow. That looks like a component that's supposed to be part of the assembly. I wish I would have taken a video of the removal, because it was perfect - just pulled and it popped right off, as clean as can be. The sides and top looked great after removal.
Finishing
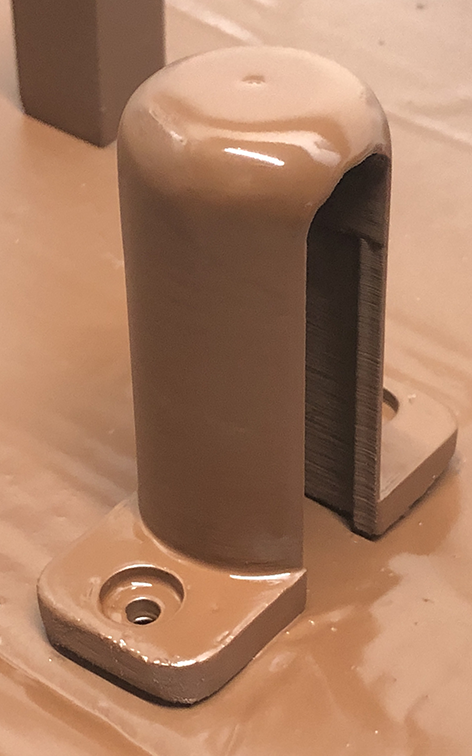
Hey, this thing's going in our house, so we're going to paint it to match. The only thing that took a little time to sand (meaning: about 5 minutes) was the ring itself. It printed very round, even at the .3 layer height. The only thing that was left to sand was a bit of Z-seam, and the bottom that touched the bed had a slight flat spot. We got to see what their PLA+ was like to sand. It may not be as easy to shape as some PETG, but for as hard as this stuff is (I may or may not have dropped a piece on the shop floor...), I expected to have to spend more time on the flat part of the round ring. Using the palm sander with 80 grit and then 120 grit did most of the work. Hand sanding at 400 took more time, but was predictable. The rest was done with a decent filler primer that you can see here:
Tip: We like using a Dremel tool that has a flexible shaft attachment, and sanding cylinders on the end. We got hundreds of the sanding cylinders at different grit values from Amazon. It eventually helped us clean up some of the edges that built up on the top inside from the primer.
After the primer cured, we found some cool textured paint at Lowes that matched the rest of the wood tones. I really think it turned out like something that we would have purchased in the store. What do you think?
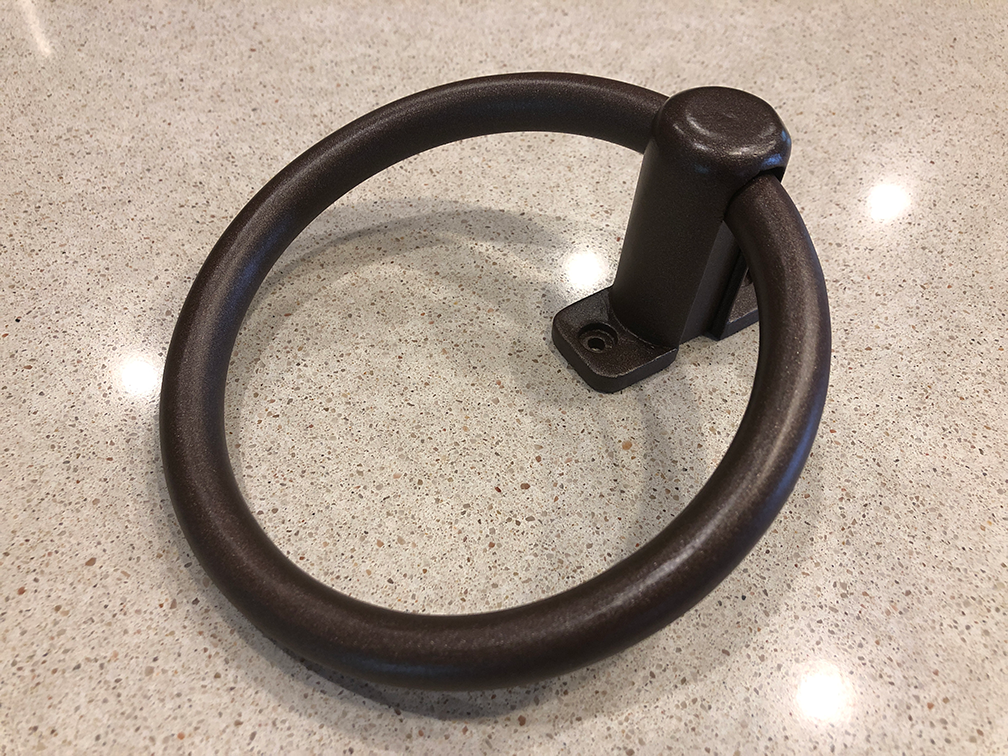
Here it is, mounted to the wall:

The Verdict
What's the criteria for a good filament? We'd say:
- Arrives well packaged, sealed and dry
- Prints predictably with similar settings to what you've dialed in on your printer (please measure flow with each new filament!)
- Adheres to your bed well and has great layer adhesion, too
- Looks great when printed
In other words, everything should work together to print predictably and not be frustrating in the process. You shouldn't have to pay a premium to get the basics, in our book. Now, if you have a special application for strength (ASA/ABS), heat (PETG), or you want it to look a certain way (wood or metal filled, glitter, etc.) then we understand paying for this.
If you want a reliable PLA+ that indeed does seem to be better than standard PLA, then we HIGHLY RECOMMEND using GST PLA+.
What's your experience with it? Do you agree with us? Have you found something better? Let us know!