What is it?
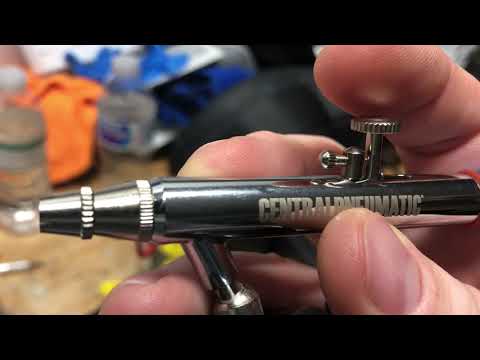
The E3D V6 is a very popular brand of hot end (made by E3D). The V6 is a market-leading, high-performance hot end. The V6 is capable of printing a wide range of materials and prints reliably at high temperatures.
Why did I want it?
To start, it's very popular due to it's performance. This means you'll be able to find support for the E3D V6 almost everywhere you go online. Since it is fully integrated into the E3D ecosystem, you'll have a wide range of nozzle to choose from - including the hardened steel "Nozzle X". You'll be able to choose from small nozzles for finer printing, to larger ones for faster, larger objects. It's also a "drop in" compatible hot end for the Sovol SV-01, making the conversion easier. Since it's an all metal hot end, you'll be able to print with nearly any 3D filament type: PLA, TPU, ABS, Nylon, Wood, Metal, etc. I had a few tough clogs on my stock hot end and wanted to upgrade away from that trouble.
What's included?
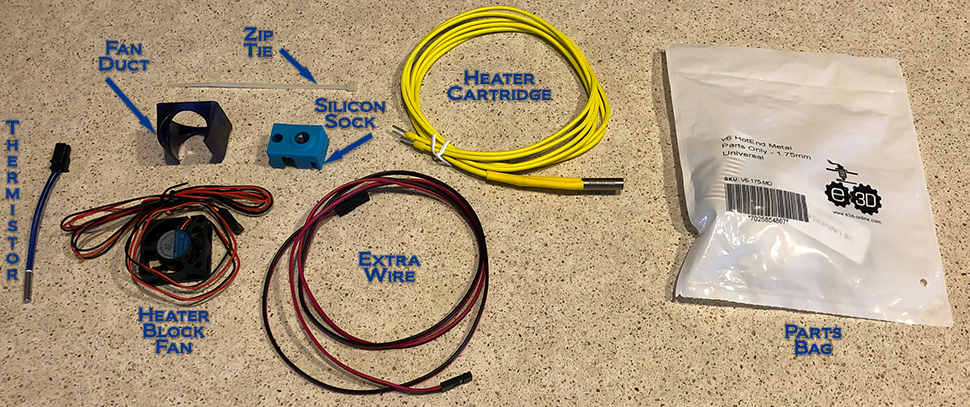
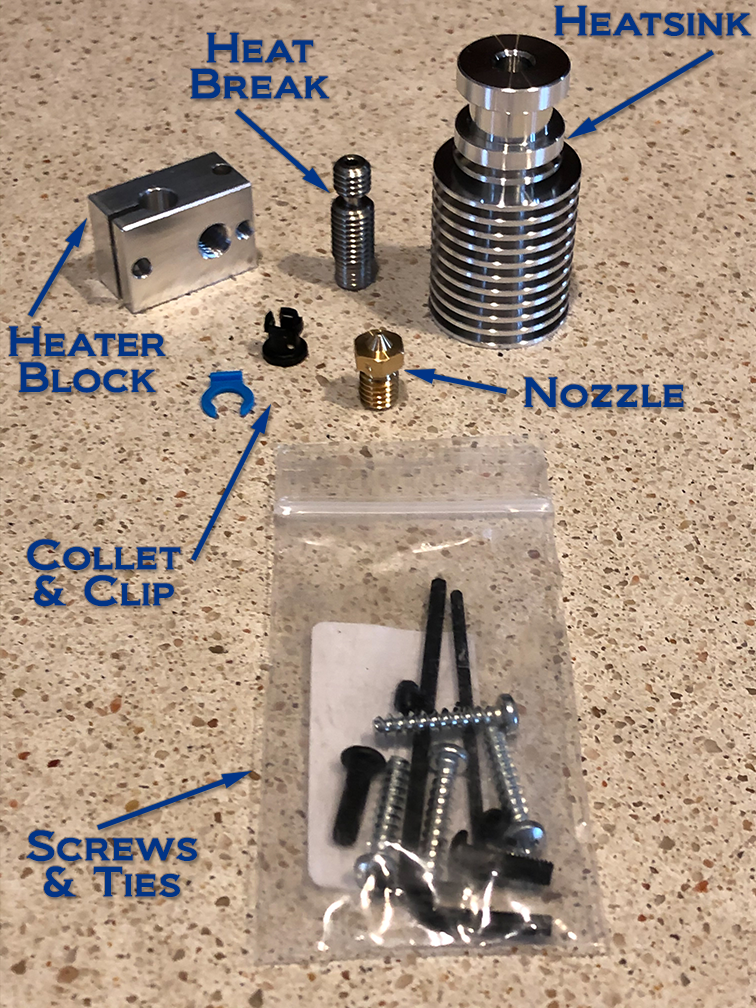
Without listing every single piece in the kit down to each screw and wire, the major components are: an aluminum heatsink, a stainless steel heat break, an extra 0.40mm brass nozzle, an aluminum heater block, a new thermistor cartridge, a 30w heater cartridge, a 30x30x10mm fan, the heatsync fan mount, a silicon heater block sleeve, and the various cable ties, wires, and screws necessary to get it going.
What else will you need?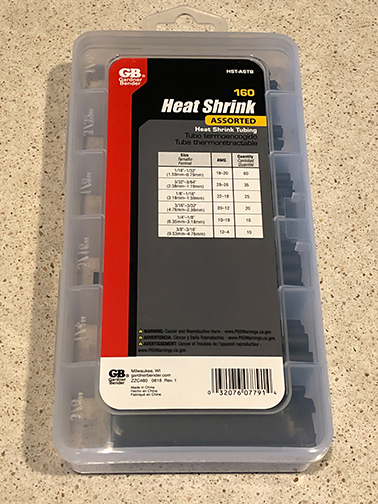
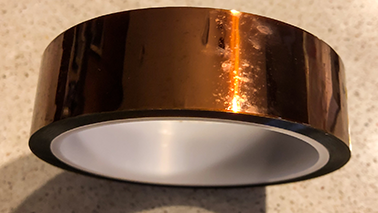
You'll need wire cutters, extra cable ties, a soldering iron, Kapton heat tape, heat shrink tubing, wrenches, and a little patience.
WARNING: Before you get started, please understand that you may be voiding your factory warranty from SOVOL, because this requires cutting wires, etc. Do so at your own risk, but please only do so if you have enough knowledge of how to safely reconnect the new parts via soldering, heat shrink, etc. This produces heat and if done improperly could become a hazard. We assume no liability in your actions.
Getting Started
If you haven't read the above warning, please do so. We're not kidding! We cannot be held responsible for how well you perform these operations, and you do so at your own risk. If you don't feel you can do this, please seek professional assistance or don't attempt this at all. OK, there - we've stated it twice...
Remove the 2 fans: One is the hot end fan that is screwed into the blue "round clip". You can pull the clip off of the heatsink. Remove the duct from the part cooling fan, then remove 3 screws found on the right side of that fan.
Removing the hot end
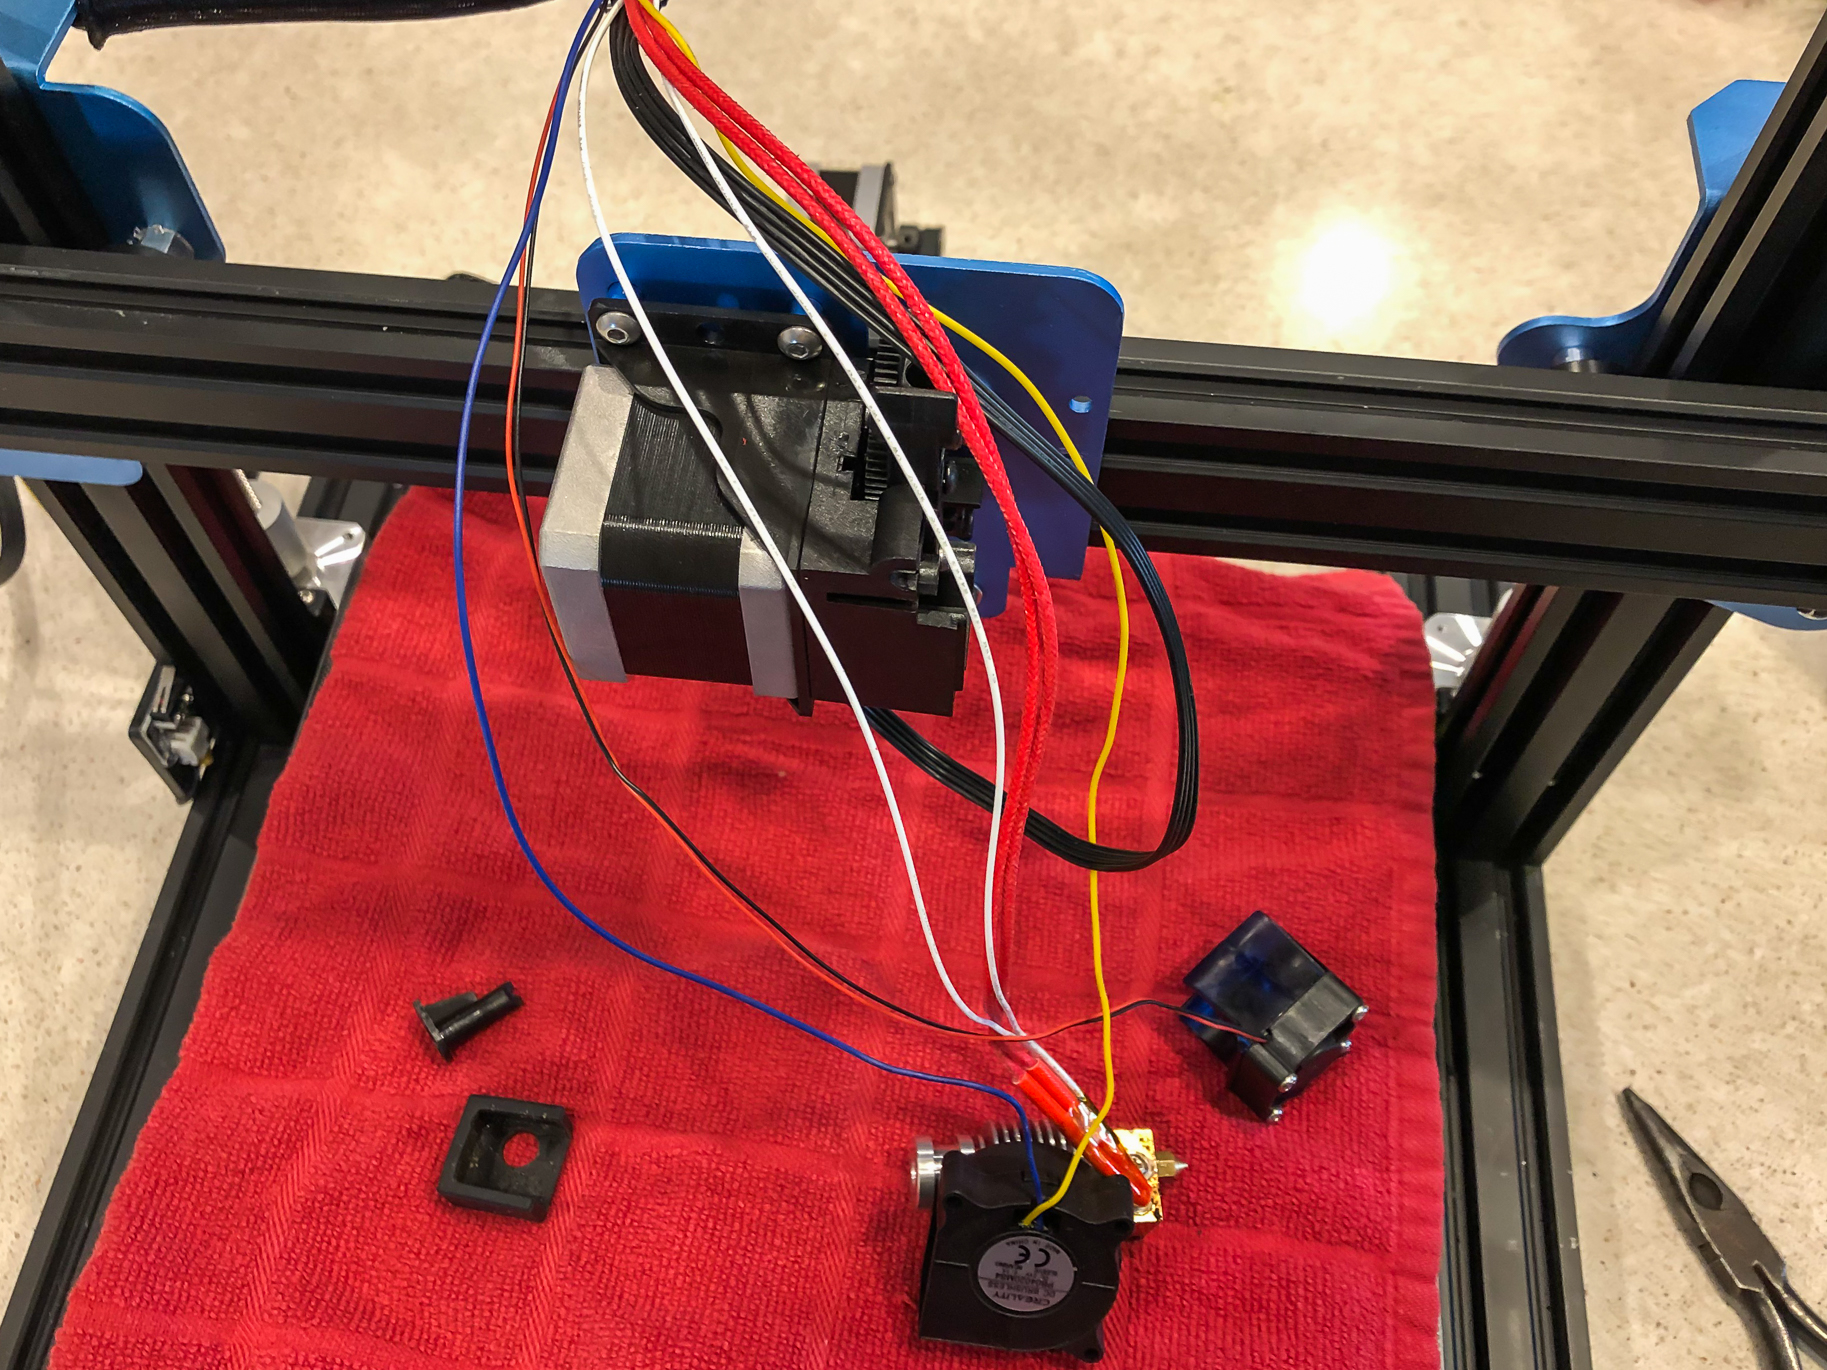
It kind of goes without saying, but you'll need to remove any filament that's left in the current hot end. You'll need to do this so you can have the top of the direct drive be clear.
You'll see the top of the cylindrical heatsink is held in place by friction. There are slots that the top portion fit into tightly. Above that, is a cone-shaped black piece of plastic that only fits in one way. That's a guide that gets your filament from the geared direct drive into the top of the heatsink, and down to the heater block. As you pull the heatsink out, the guide will come with it. Pay close attention to how it sits in, for when you have to put it back together. I used one hand to place it against the bottom of the drive assembly, and pushed the heatsink out with my fingers. When looking at the bottom of the nozzle and heater block, you can see why I wanted to replace it! One too many leaks/clogs...
Wires
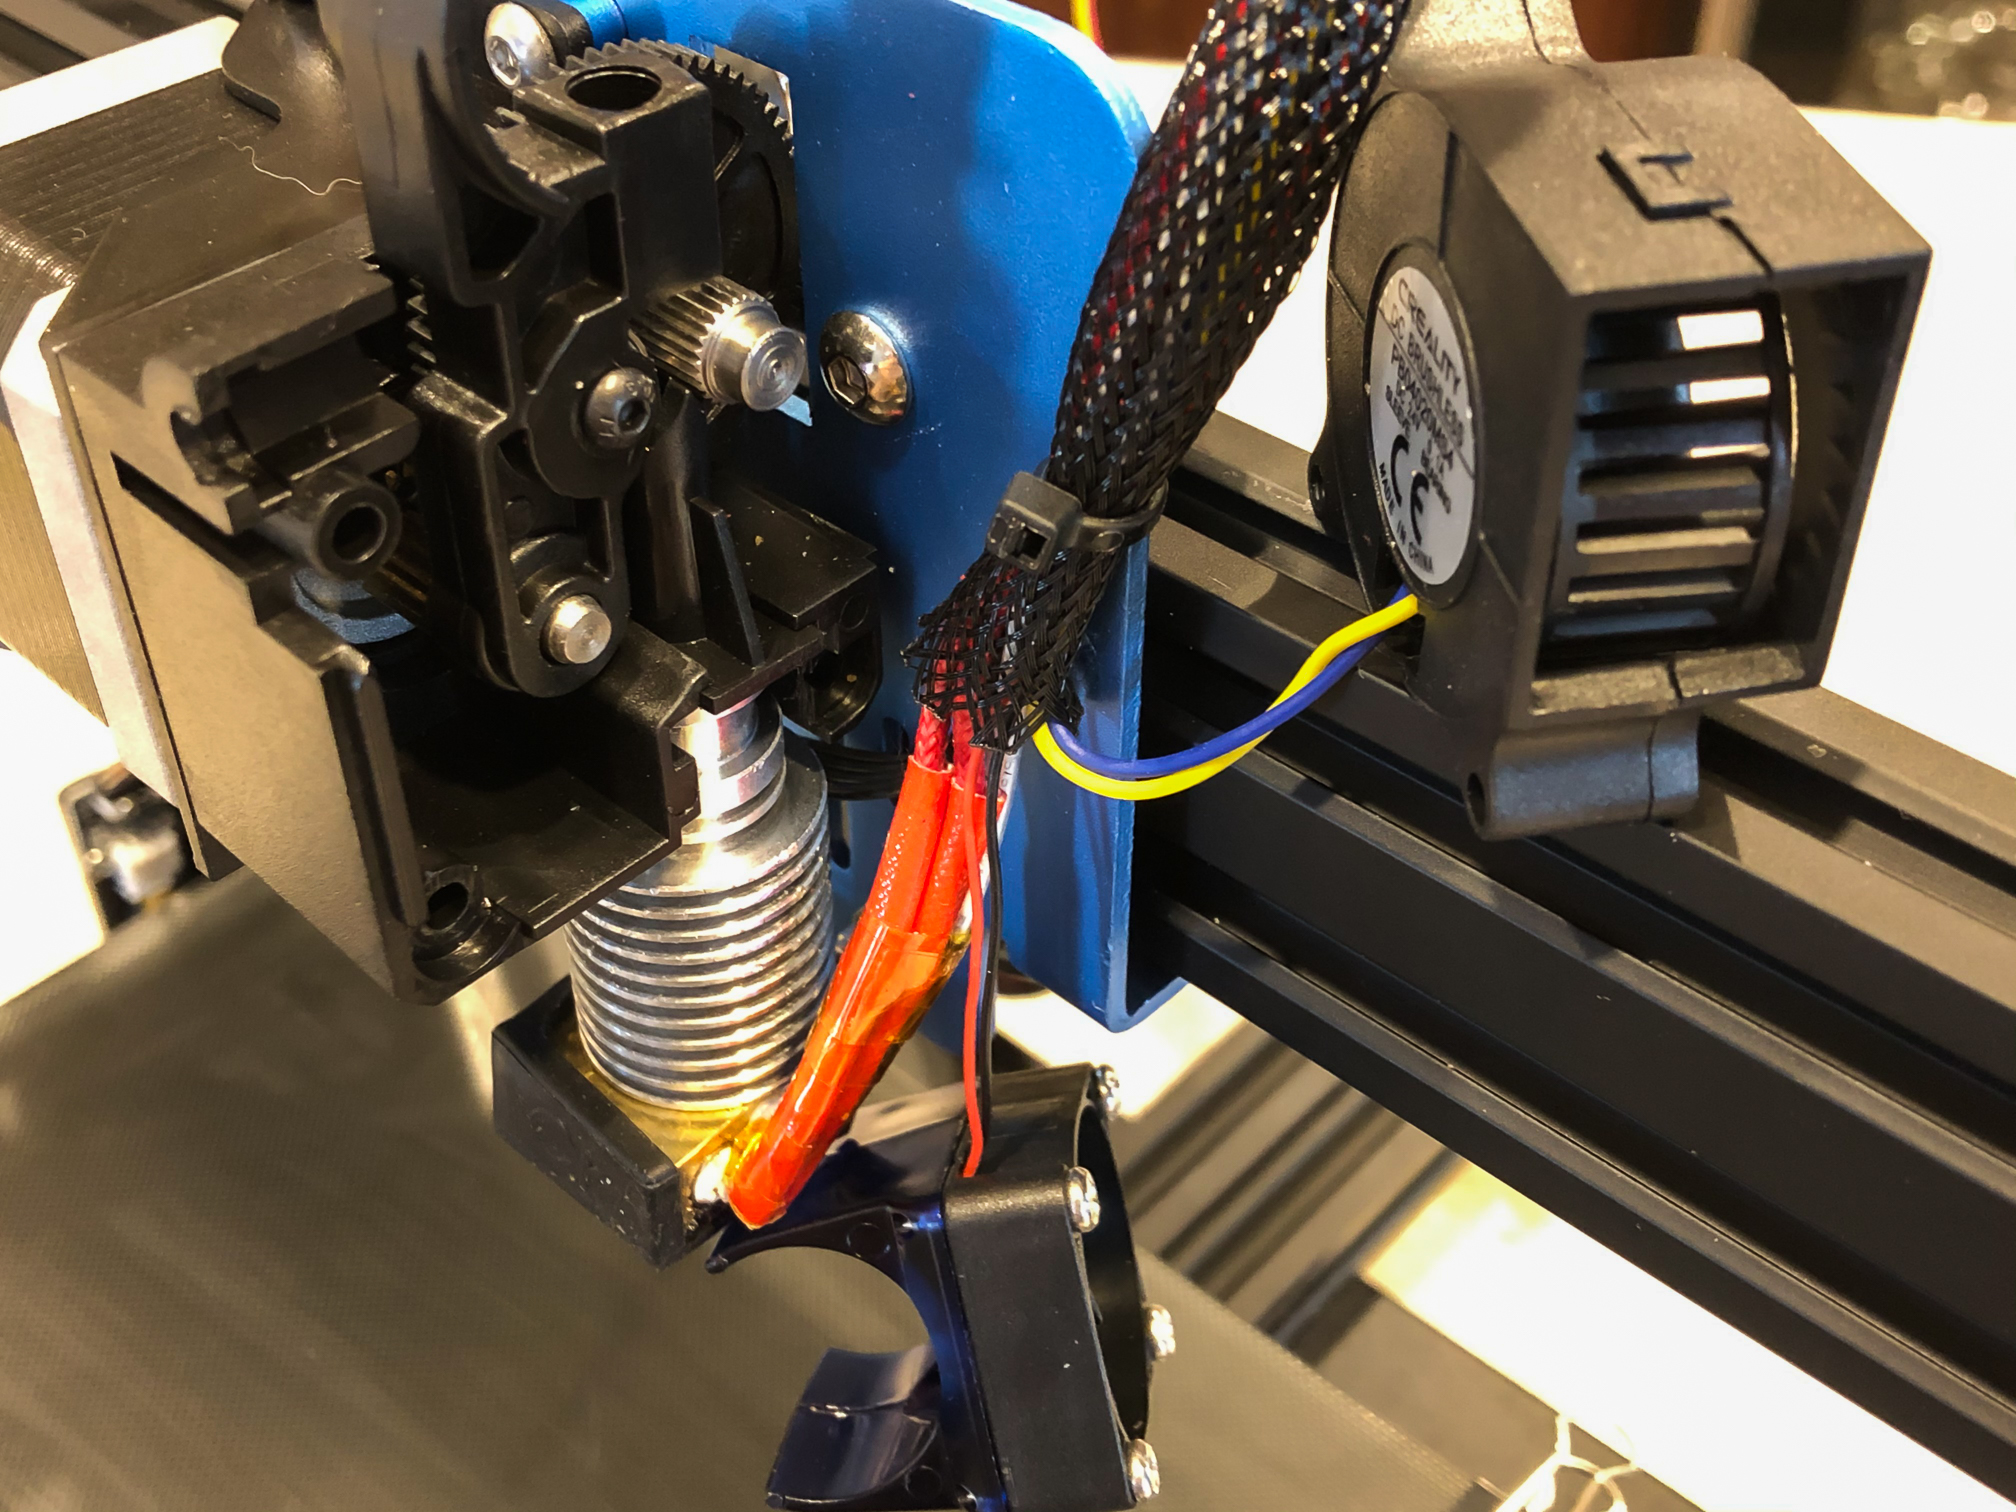
After the assembly has been removed, you can remove the small cable tie that holds the shield and wires to the blue back plate. This will give you more room to work with.
Tidy up
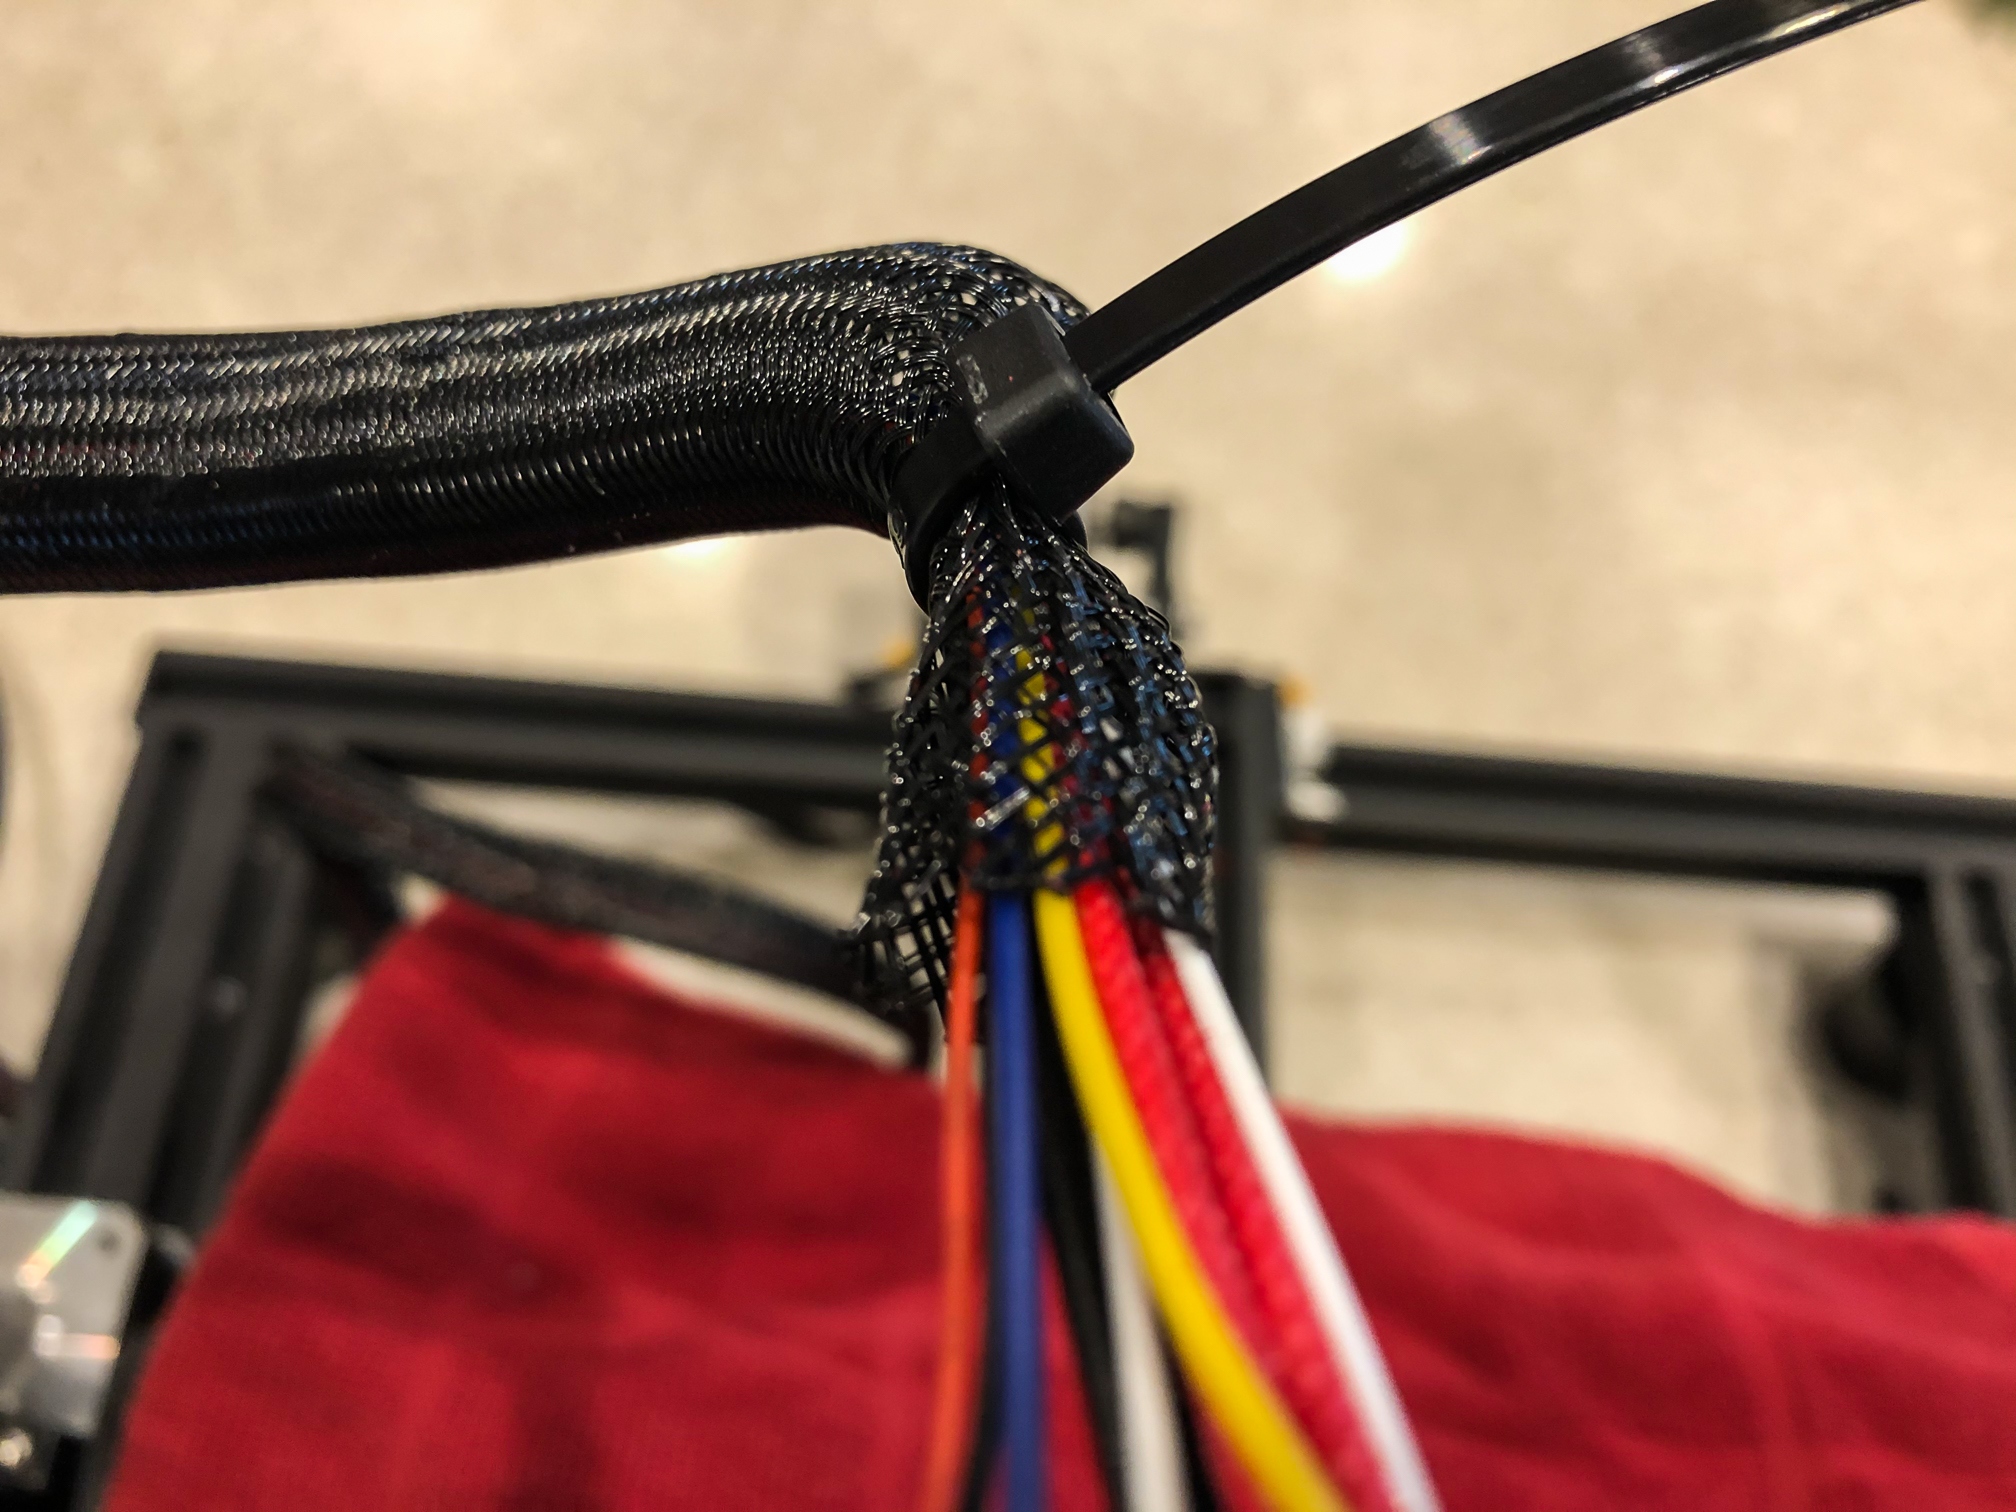
With the wires all loose, I found it best to push back the mesh way above the direct drive (out of the way) and secure it there by placing a temporary zip tie. This way, it holds the mesh back, so it didn't keep pushing everything towards what I was working on.
Disconnect heater block & heatsink
With a wrench, hold the brass heater block, and carefully unscrew the aluminum heatsink.
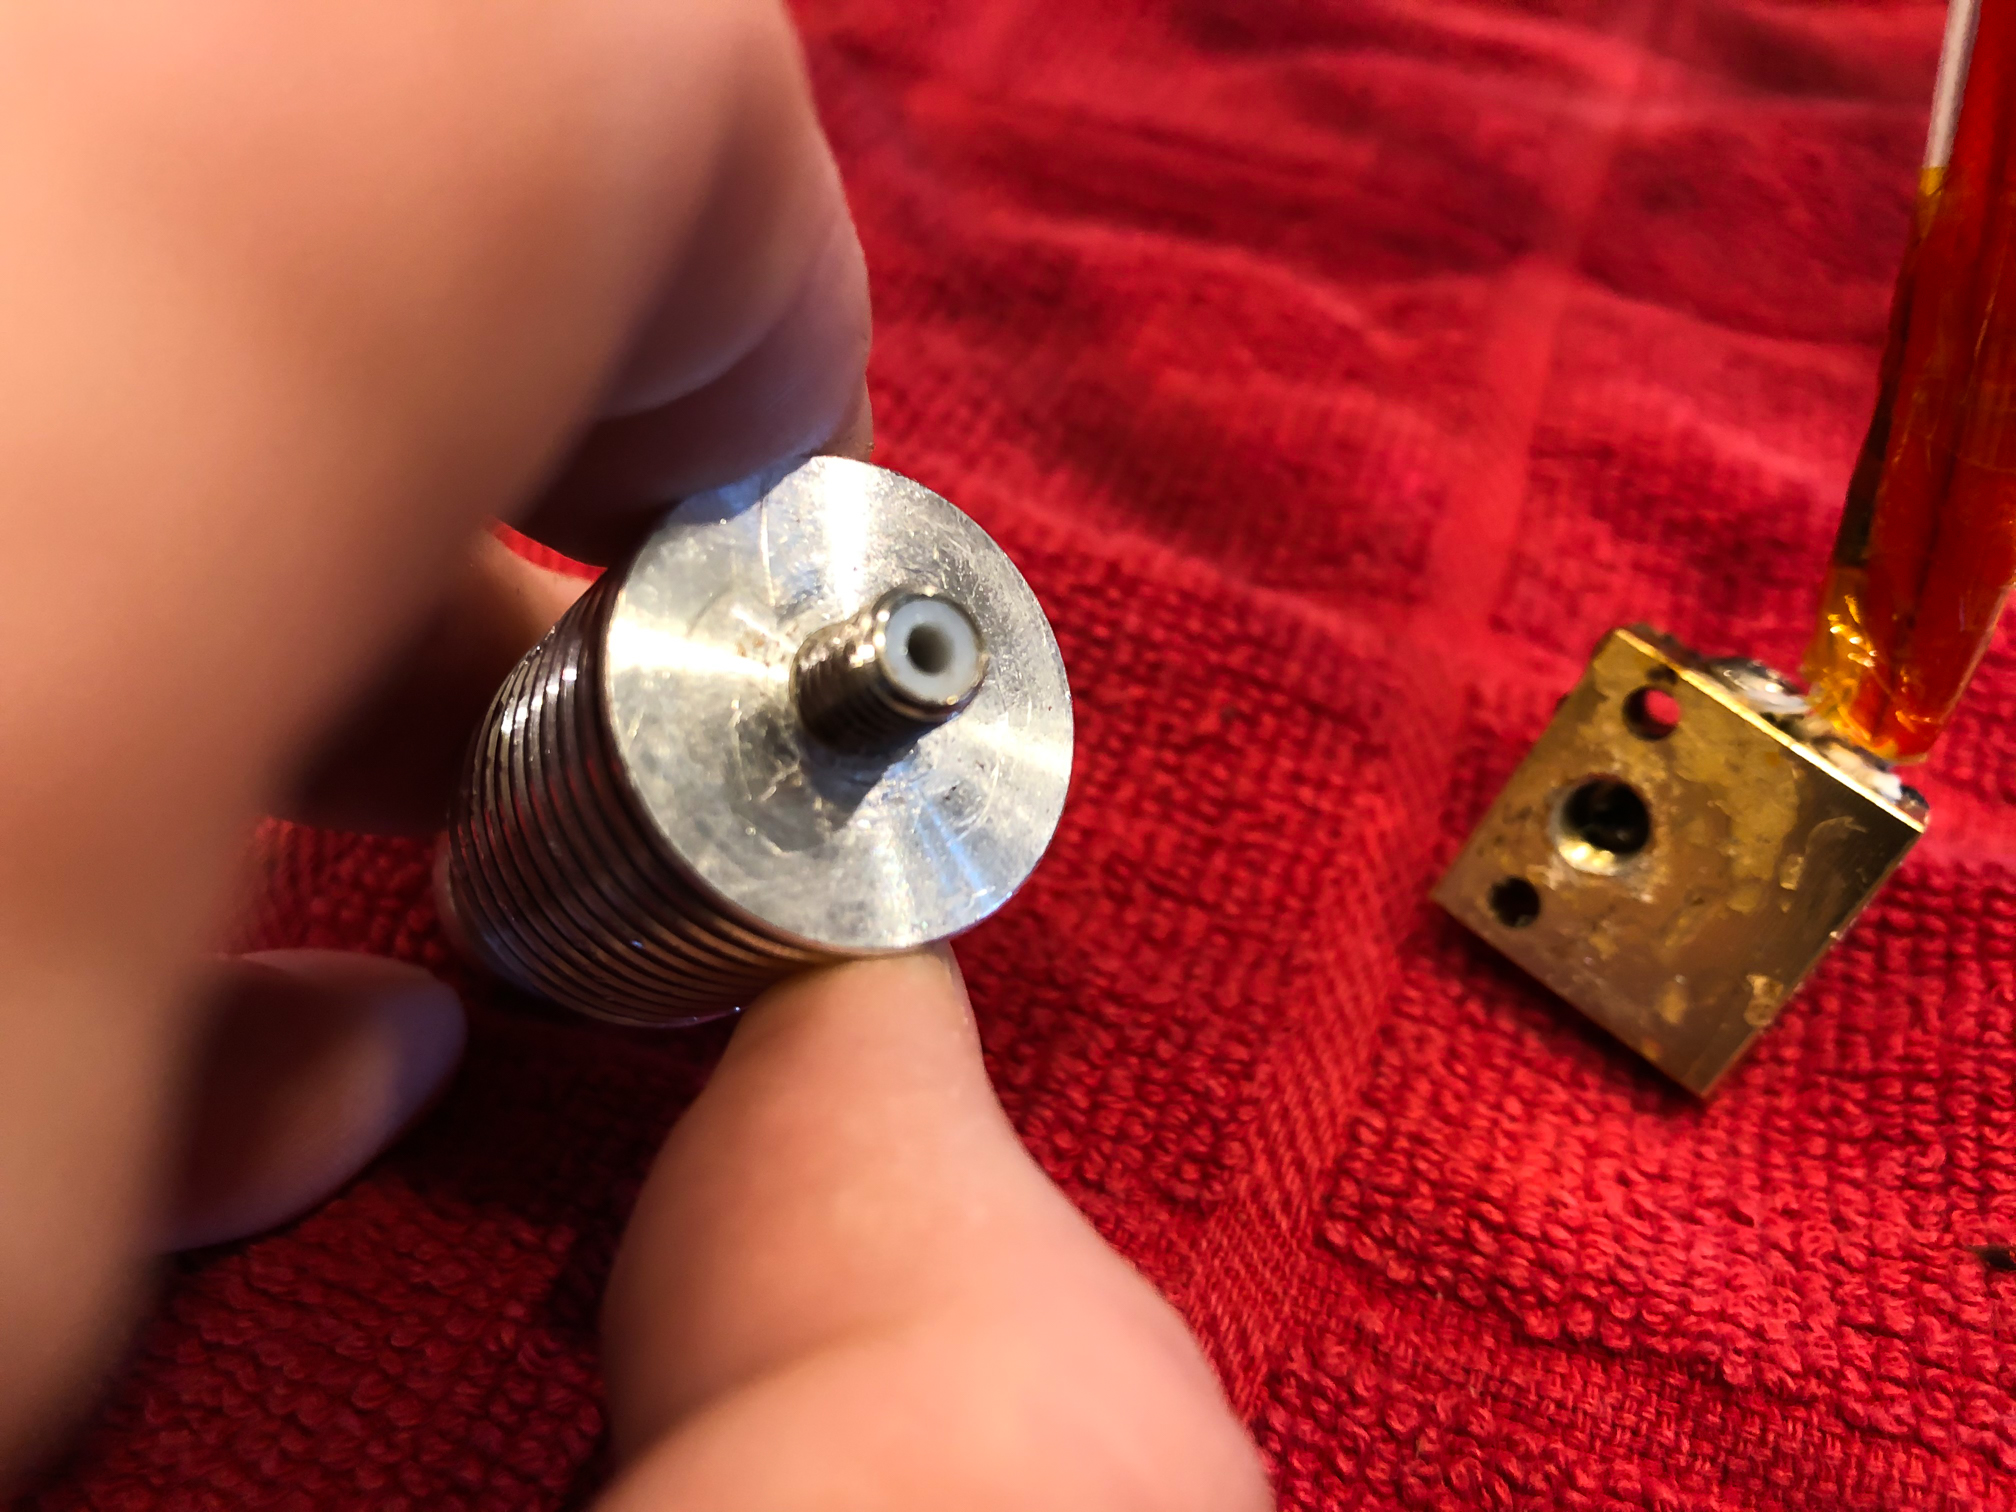
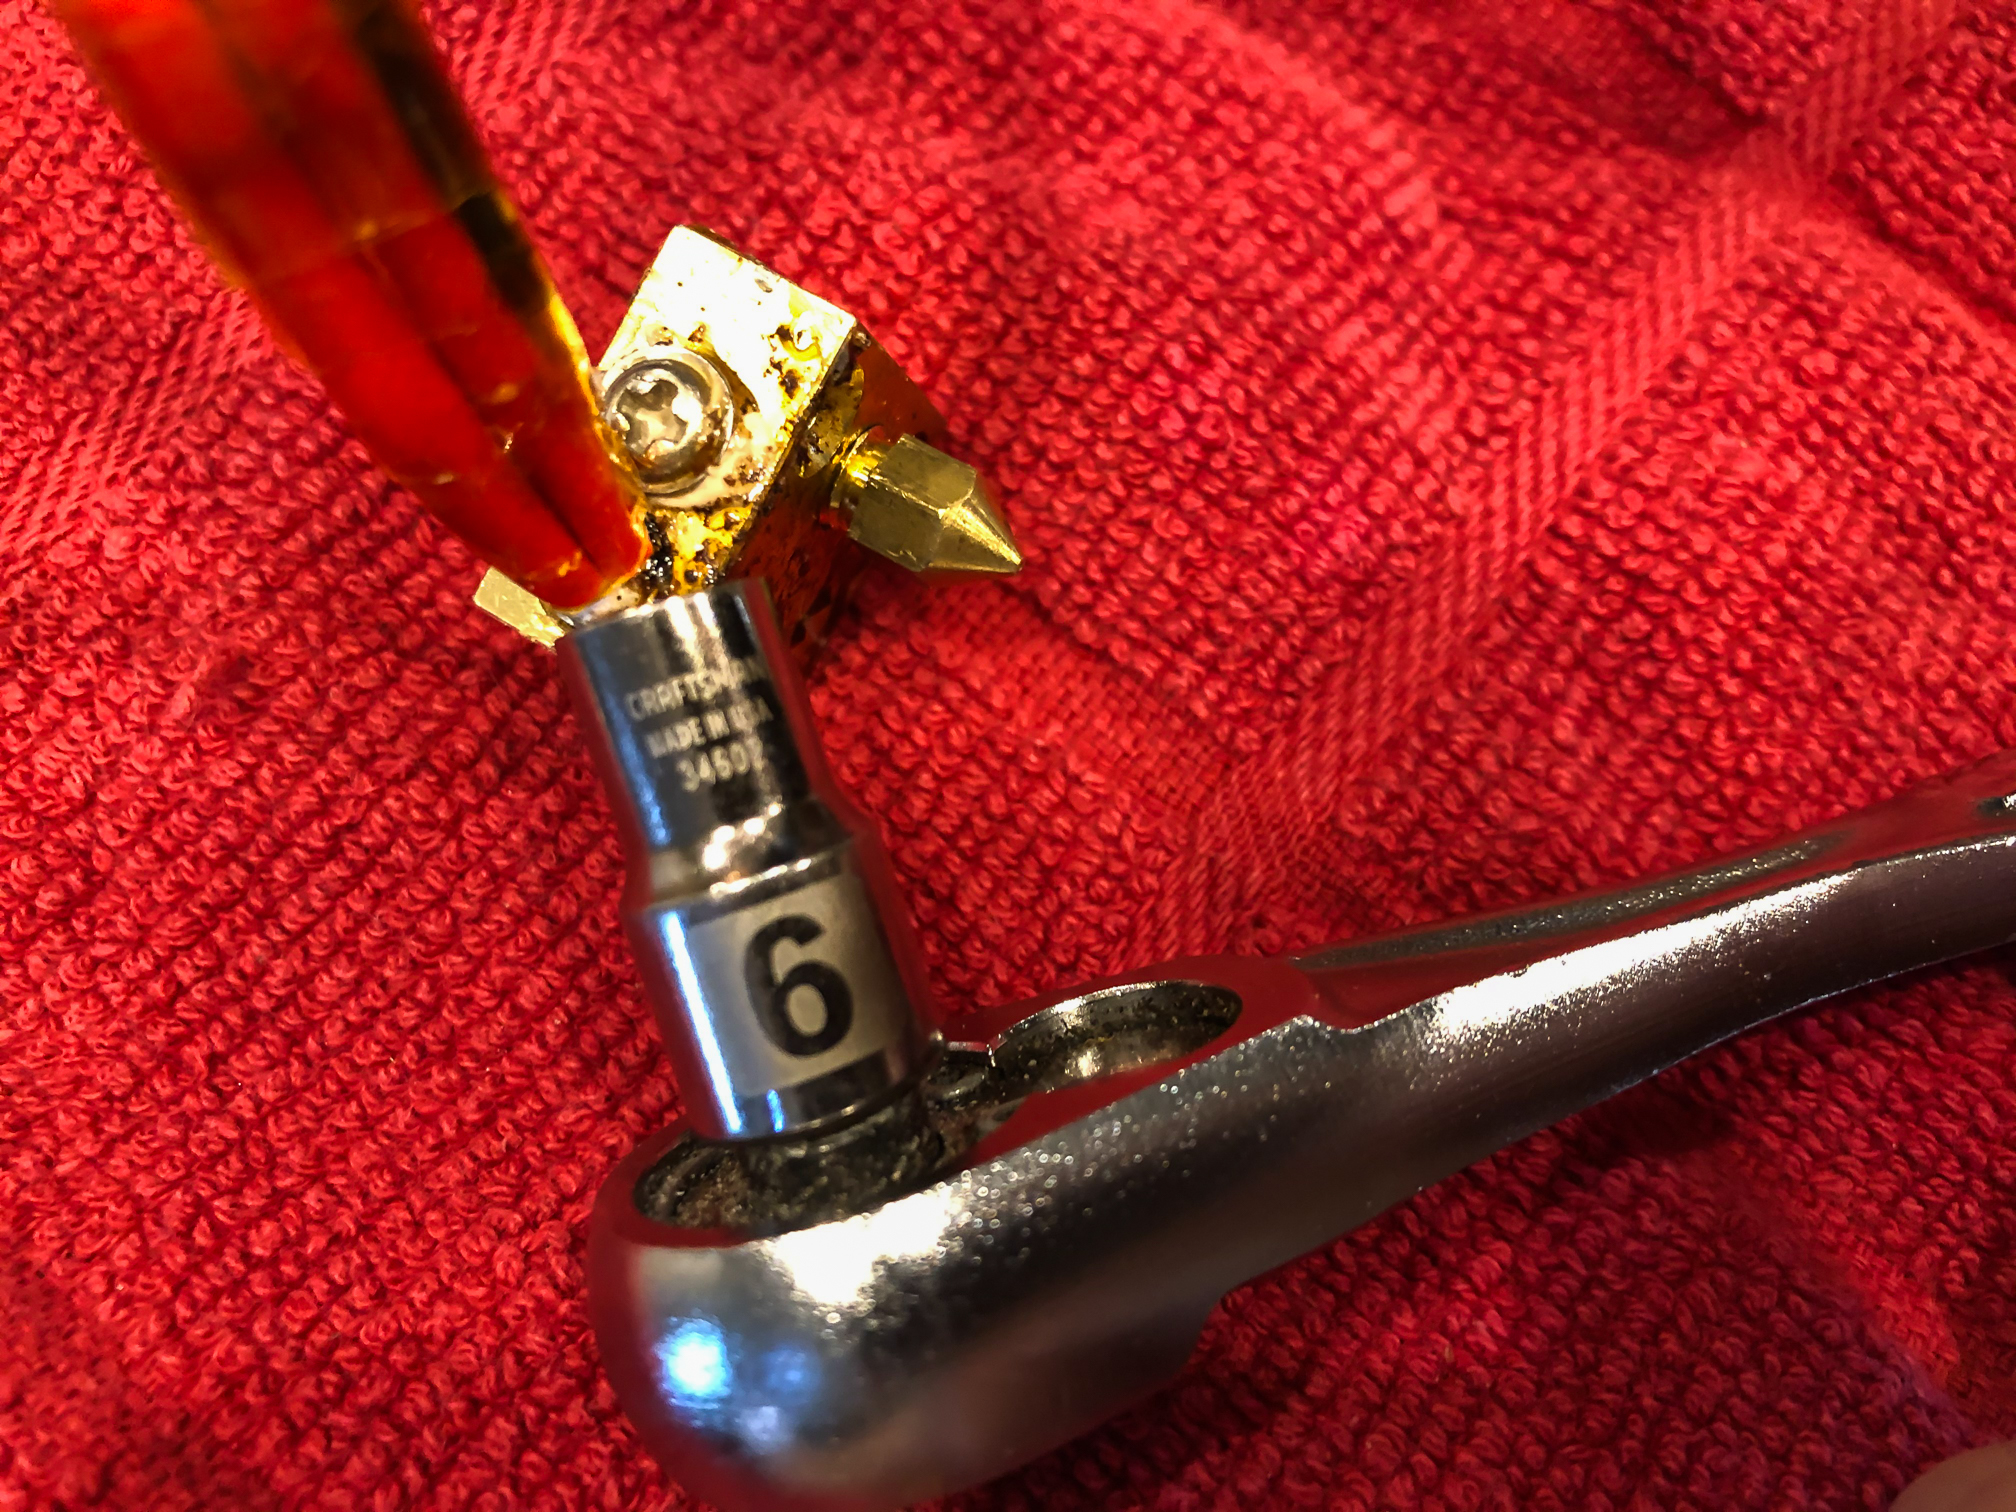
Remove nozzle
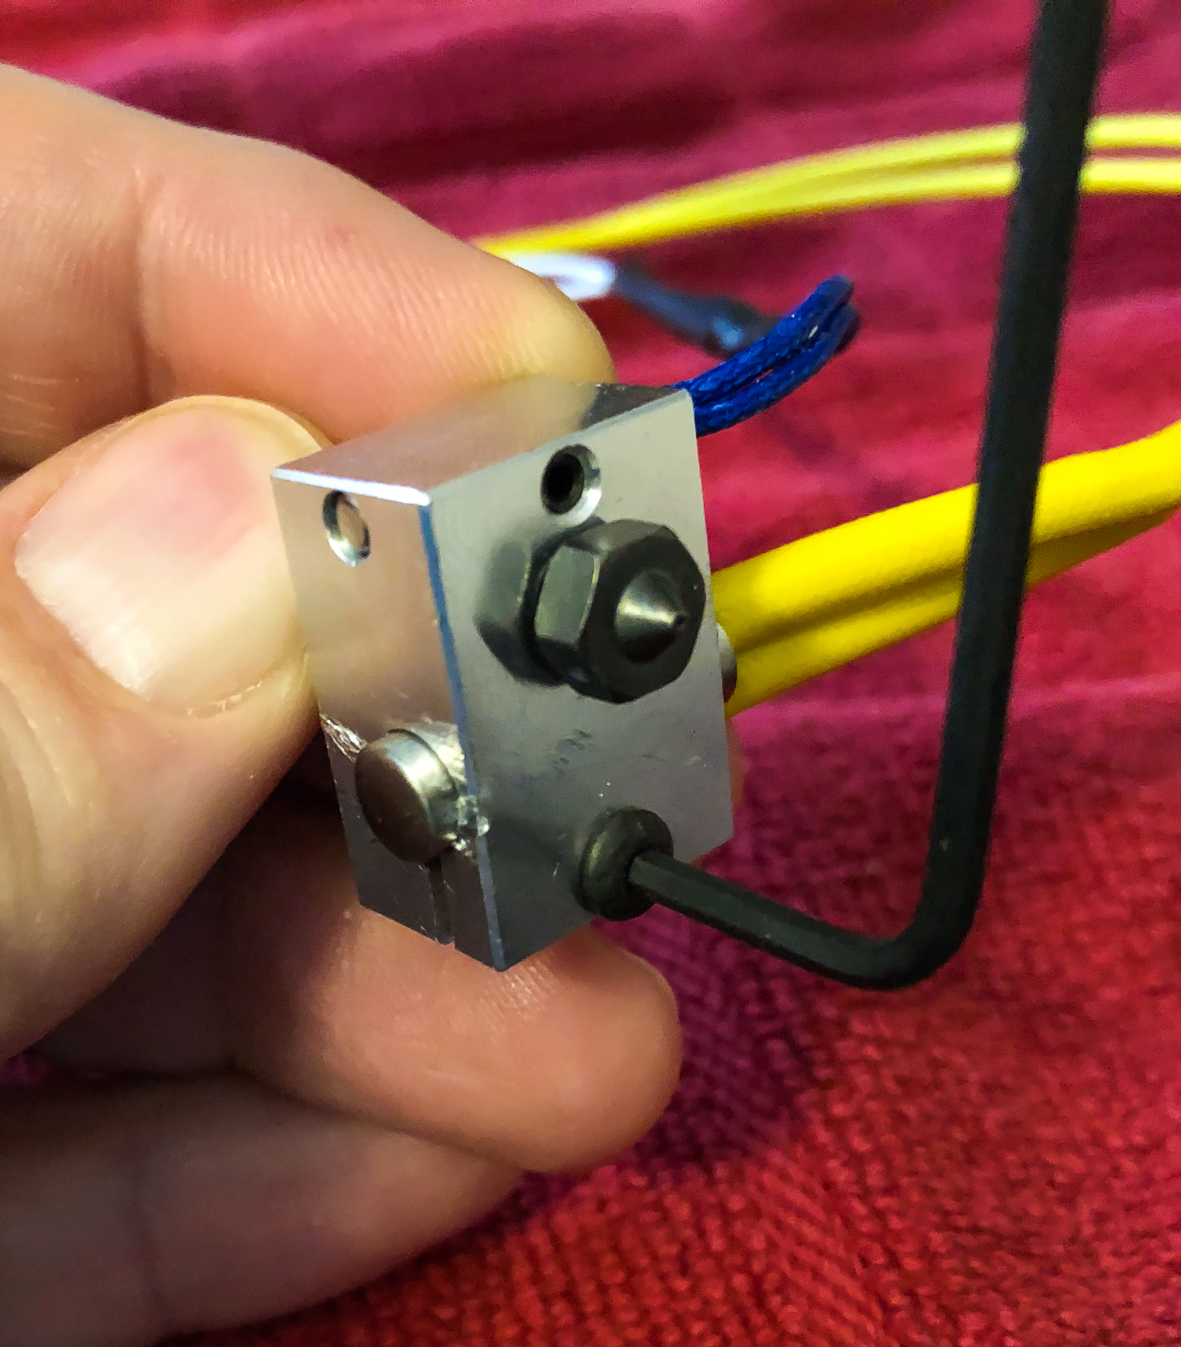
Using a metric size 6 socket, carefully remove the nozzle from the heater block. Note that mine was pretty well clogged, and I was replacing with a better Nozzle X, so I wasn't too worried about what happened to mine. However, you'll probably want to reuse this if not upgrading your nozzle. If it's jammed with clogged filament, you can try safely heating the nozzle beyond the filament's melting point and using pliers to pour out the melted plastic, then cleaning. Again, be very safe with this very hot metal and plastic if you choose to do this!
Building the new assembly
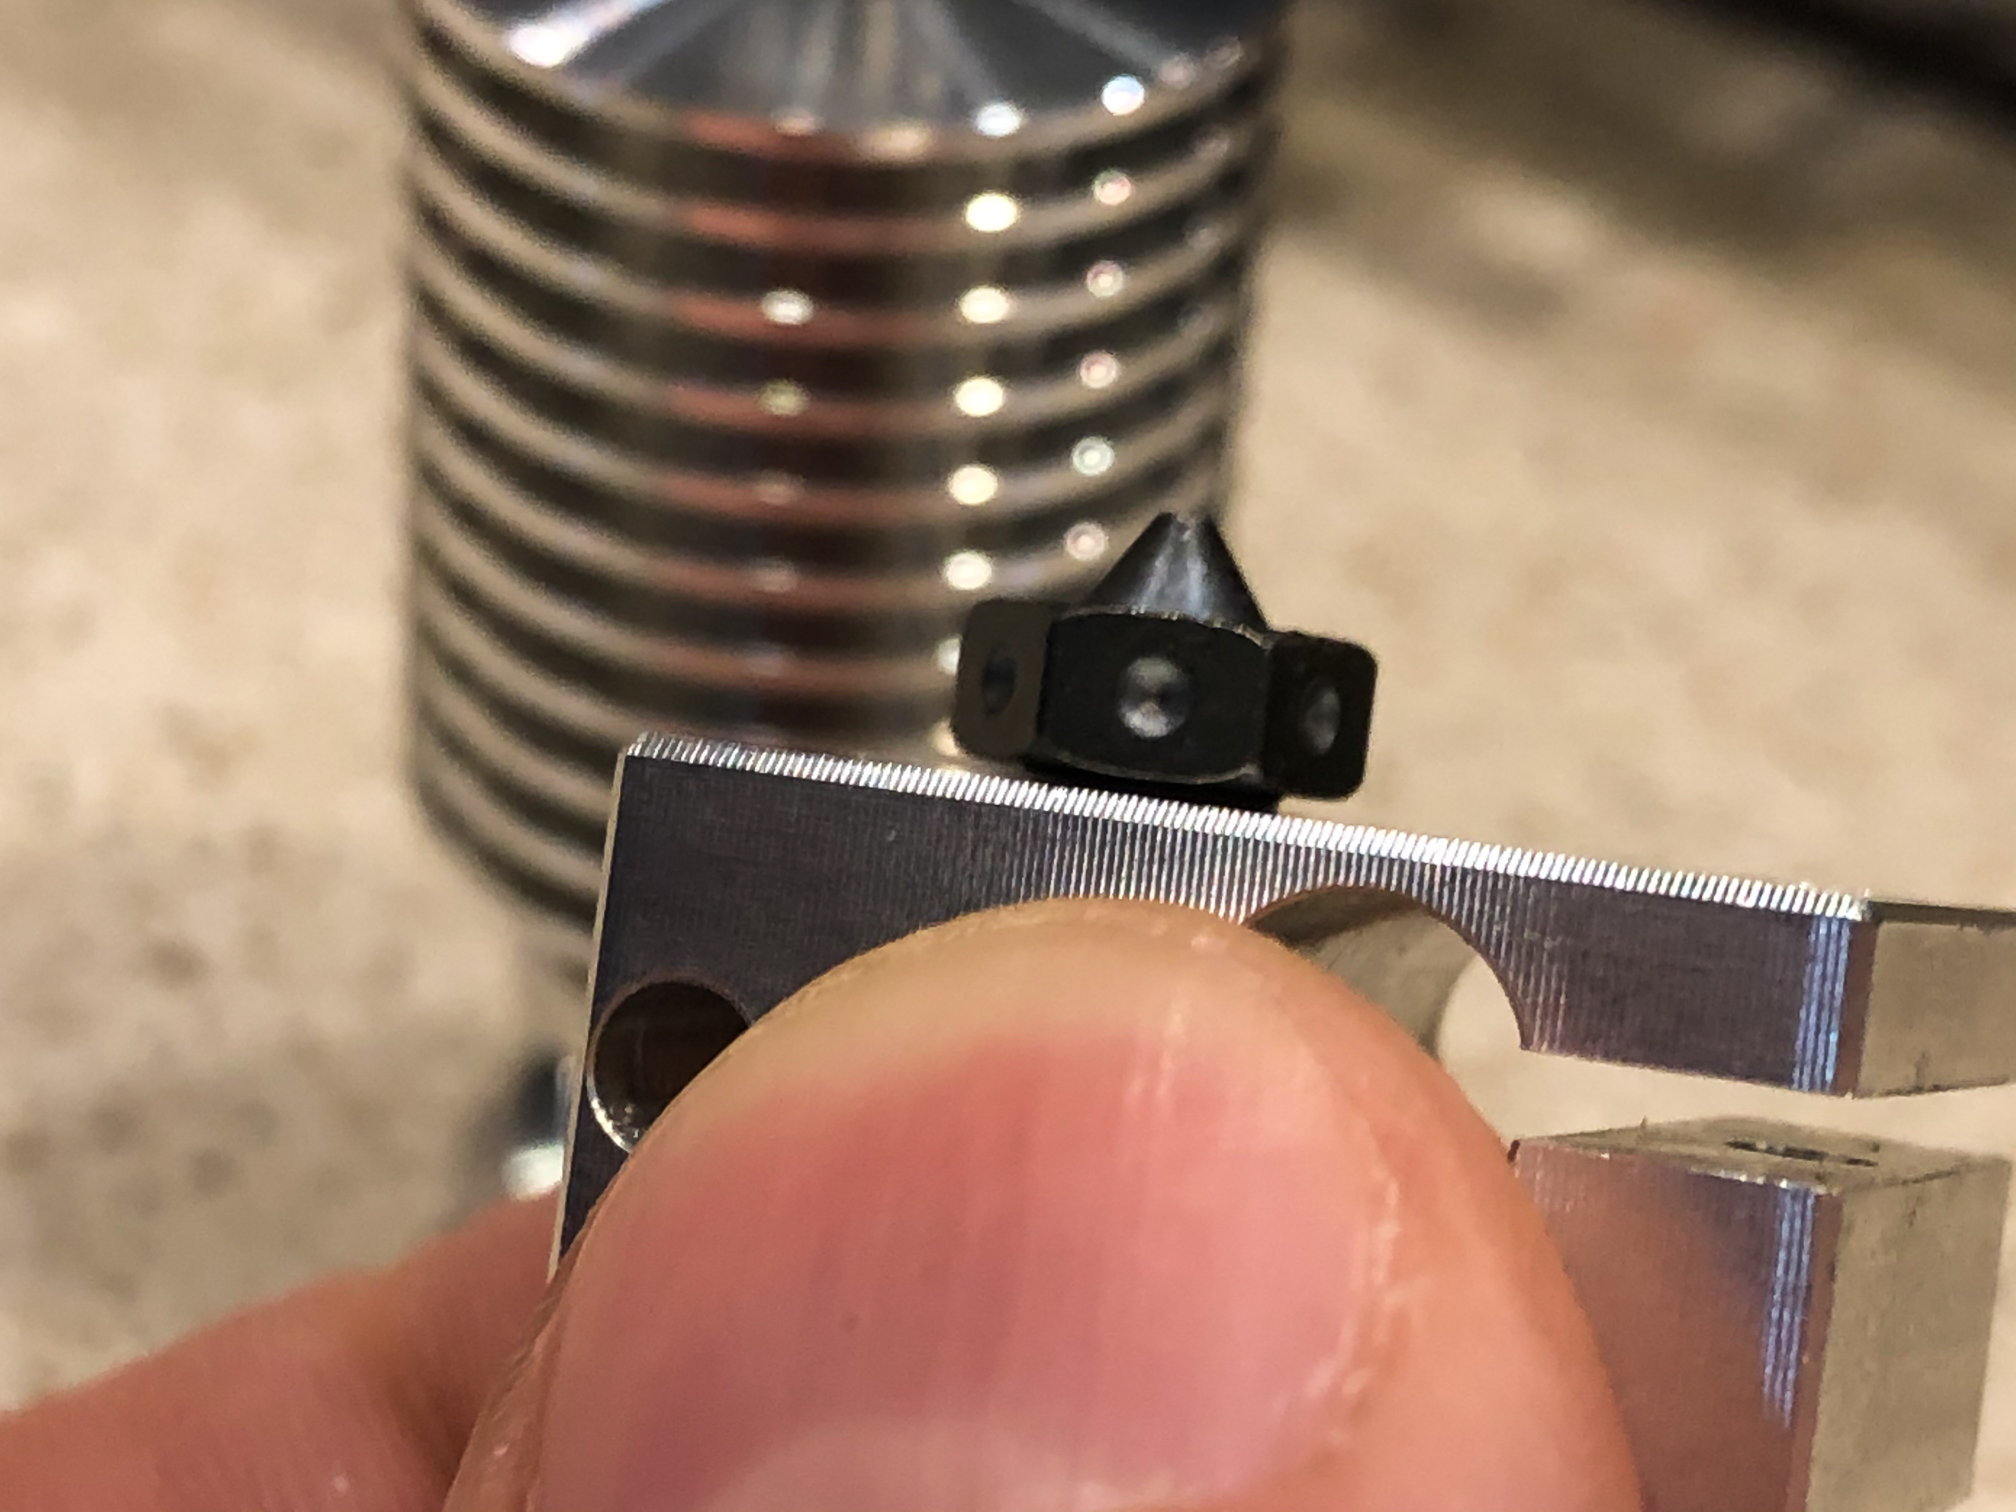
Next, we'll start building the new assembly. Start by placing your nozzle (in this case, the hardened steel Nozzle X 0.40mm). You'll want to tighten it all of the way, then turn it counter-clockwise one quarter turn. This is allows for a little space to tighten after screwing in the heat break.
Screw in the heat break from the opposite side of the nozzle - small threaded end goes in. Screw this in until it touches the nozzle, then tighten the nozzle against the heat break. Don't over-tighten, as we'll be hot-tightening later.
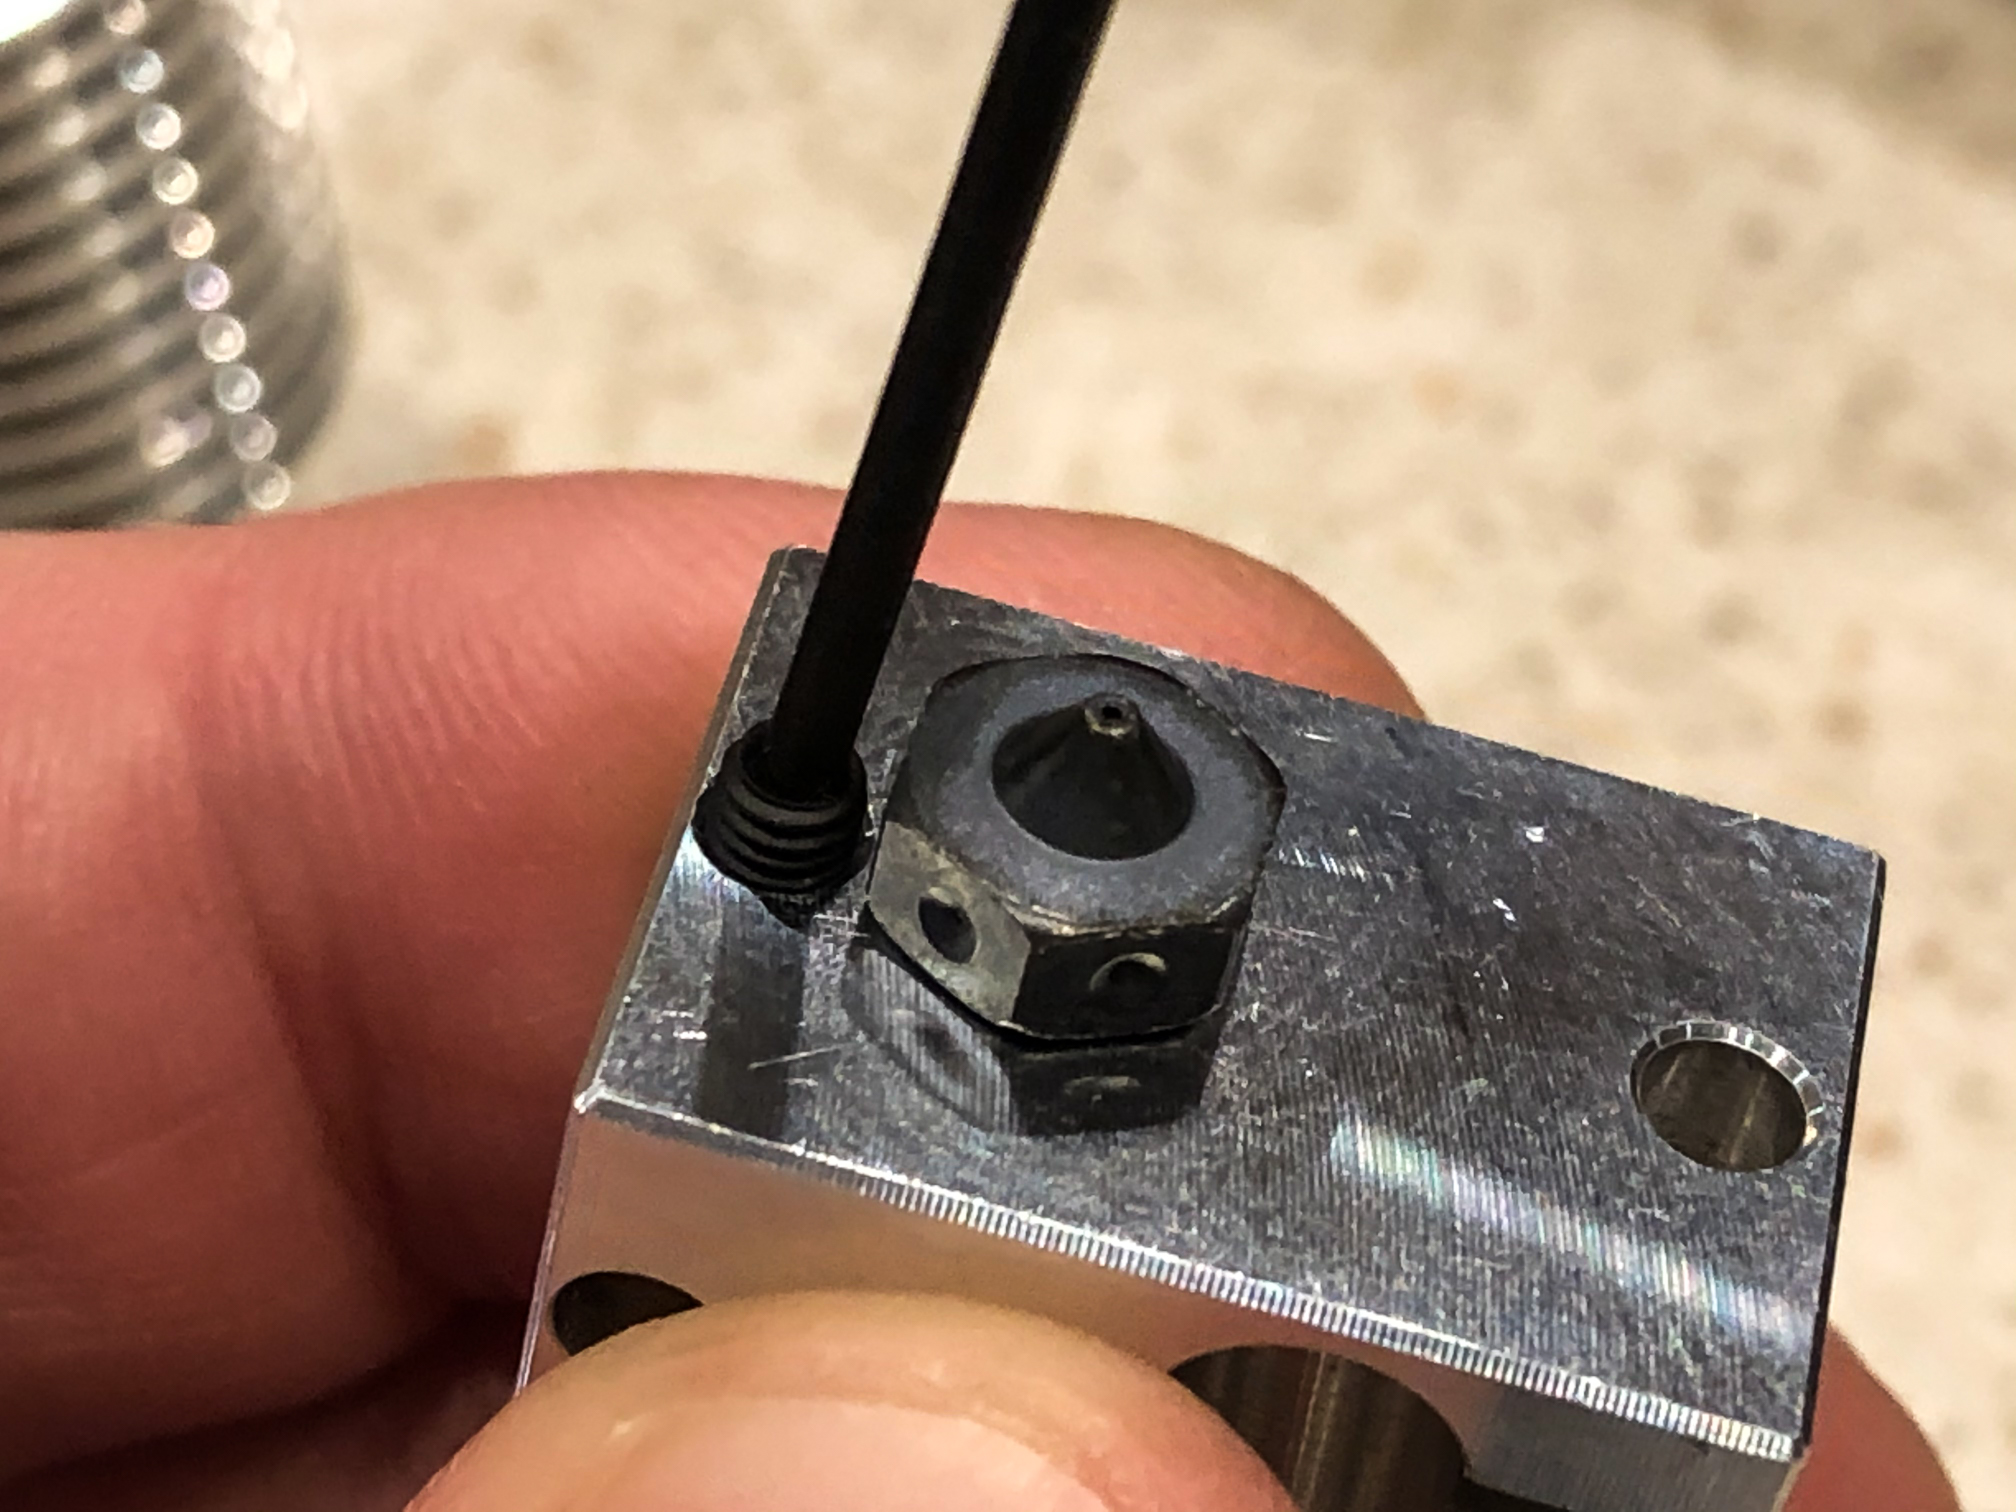
Before you slide the Thermistor into place, you can start the small M3 grub screw so that it's flush with the inside hole:
NOTE on electrical connections: You have a choice to make for the type of connection to the new thermistor and heater cartridge: either place new connectors, or solder. Soldering: If you choose to go the route I did, you will need to cut the old thermistor and heater cartridge off of your machine, and solder + heat shrink the new set to the existing wires. We will not be covering this, because you could have an entire tutorial on soldering properly. Connectors: They are not included in the kit, so you'd have to purchase separately.
Also, you'll need to ensure you have the proper heater cartridge in the kit, as the SV-01 is 24v (but they also sell a 12v). See the E3D documentation on how to verify you have the proper heater cartridge.
Thermistor
Slide in the thermistor cartridge so that it's flush where the wires come out. Screw in the grub screw in the rest of the way, until it just touches the thermistor. Tighten it by about 1/8 of a turn. Don't over-tighten, as it is soft and can get deformed. You don't want to damage the Thermistor, as it's what helps prevent over-heating!
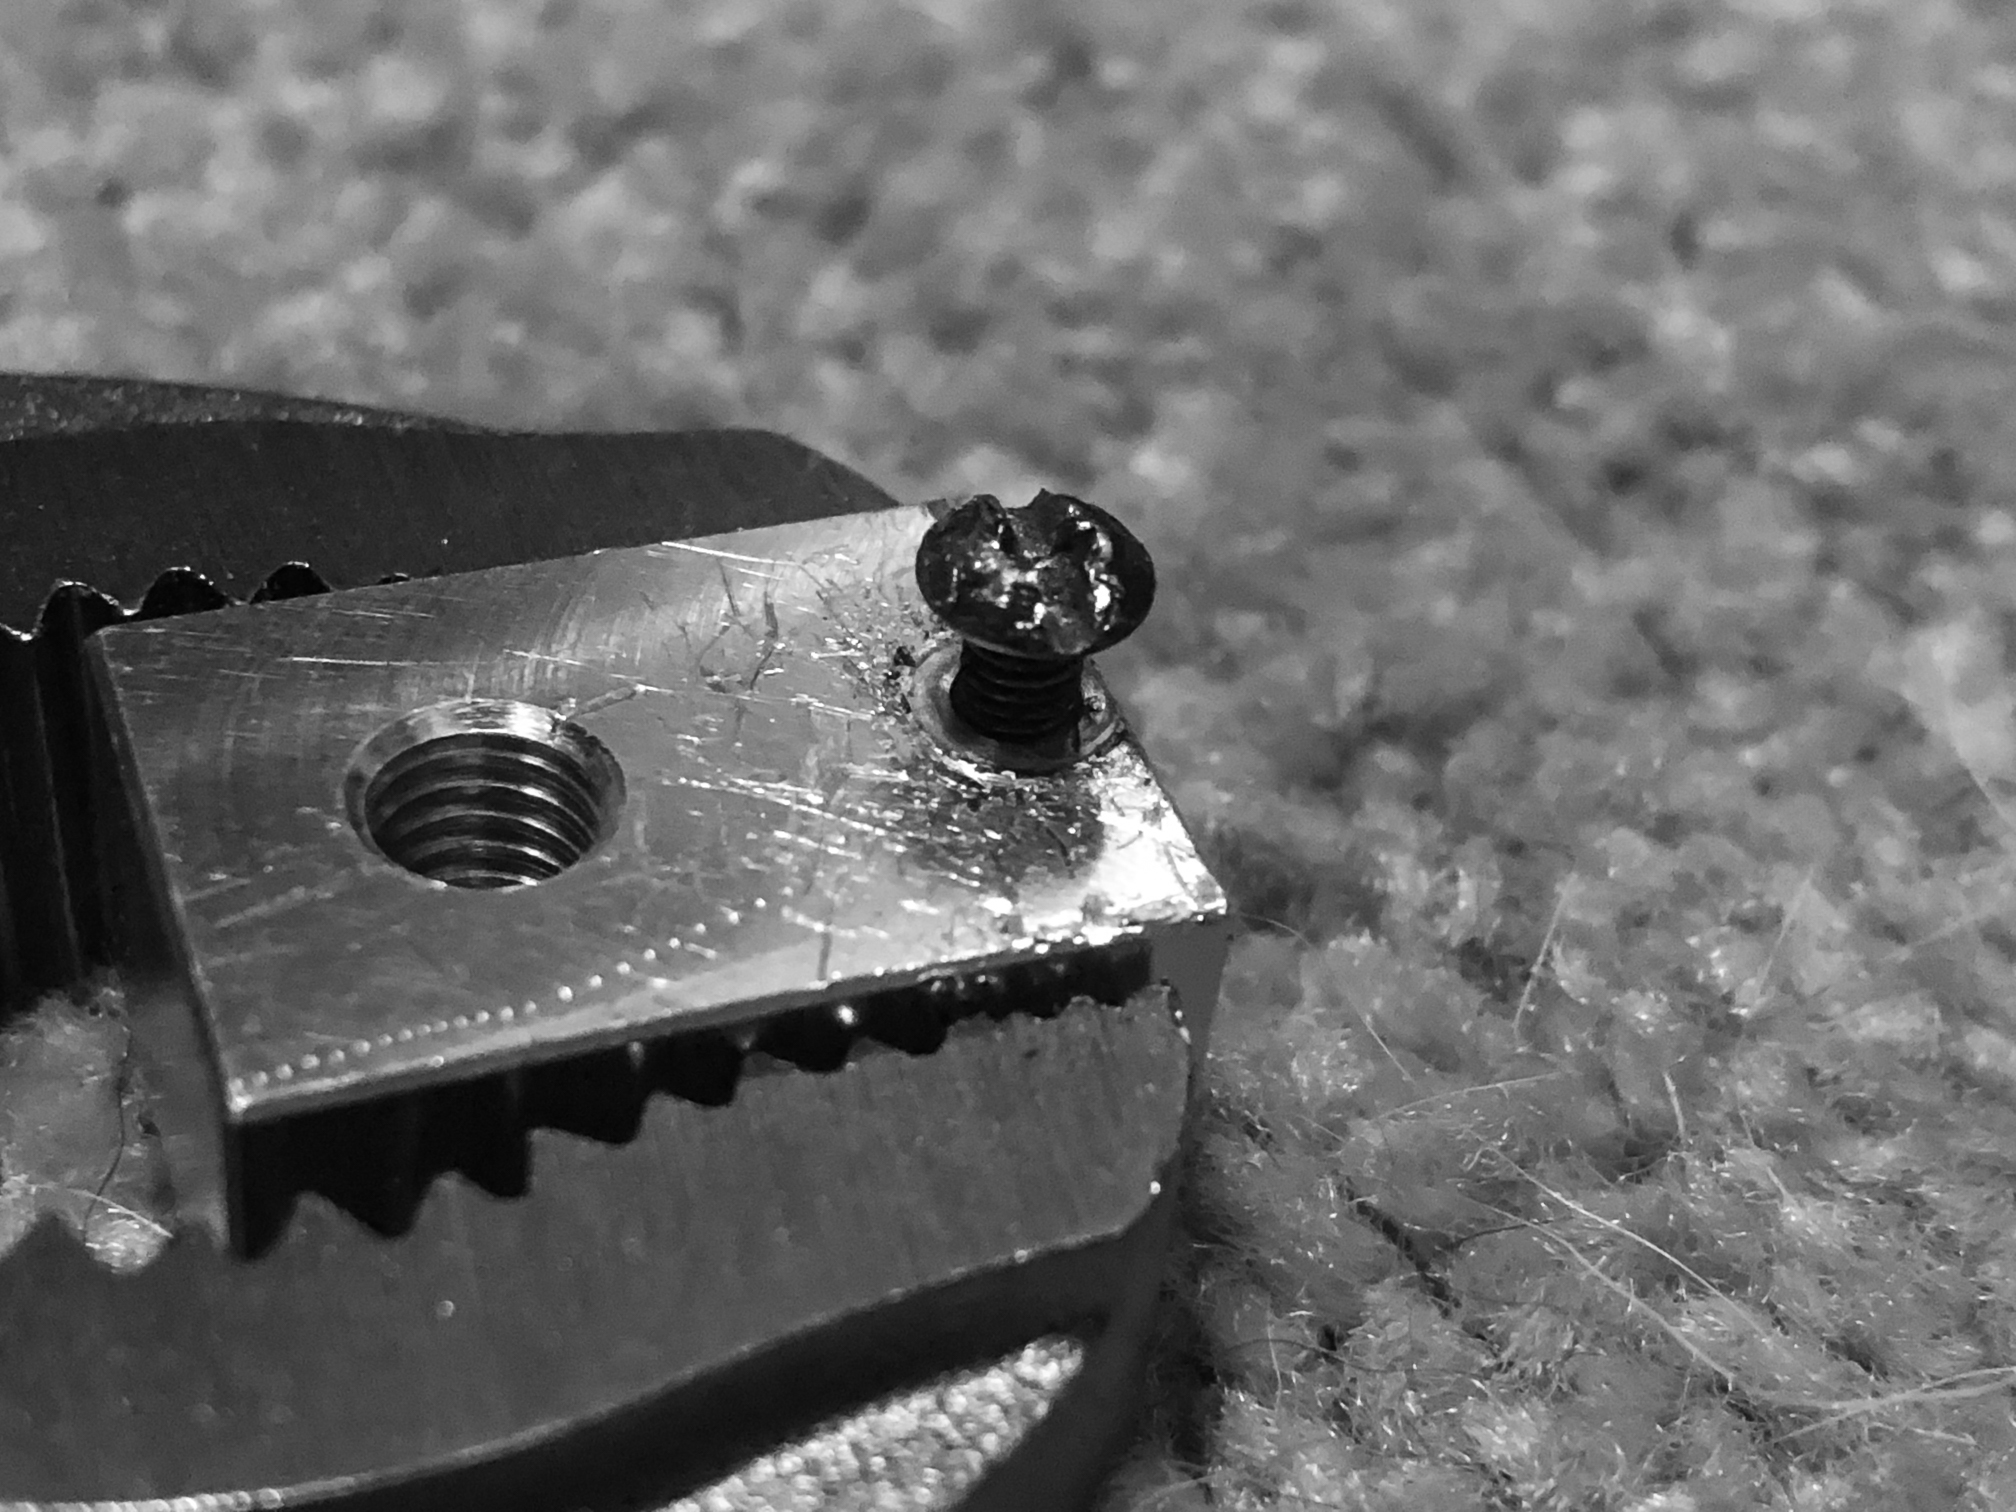
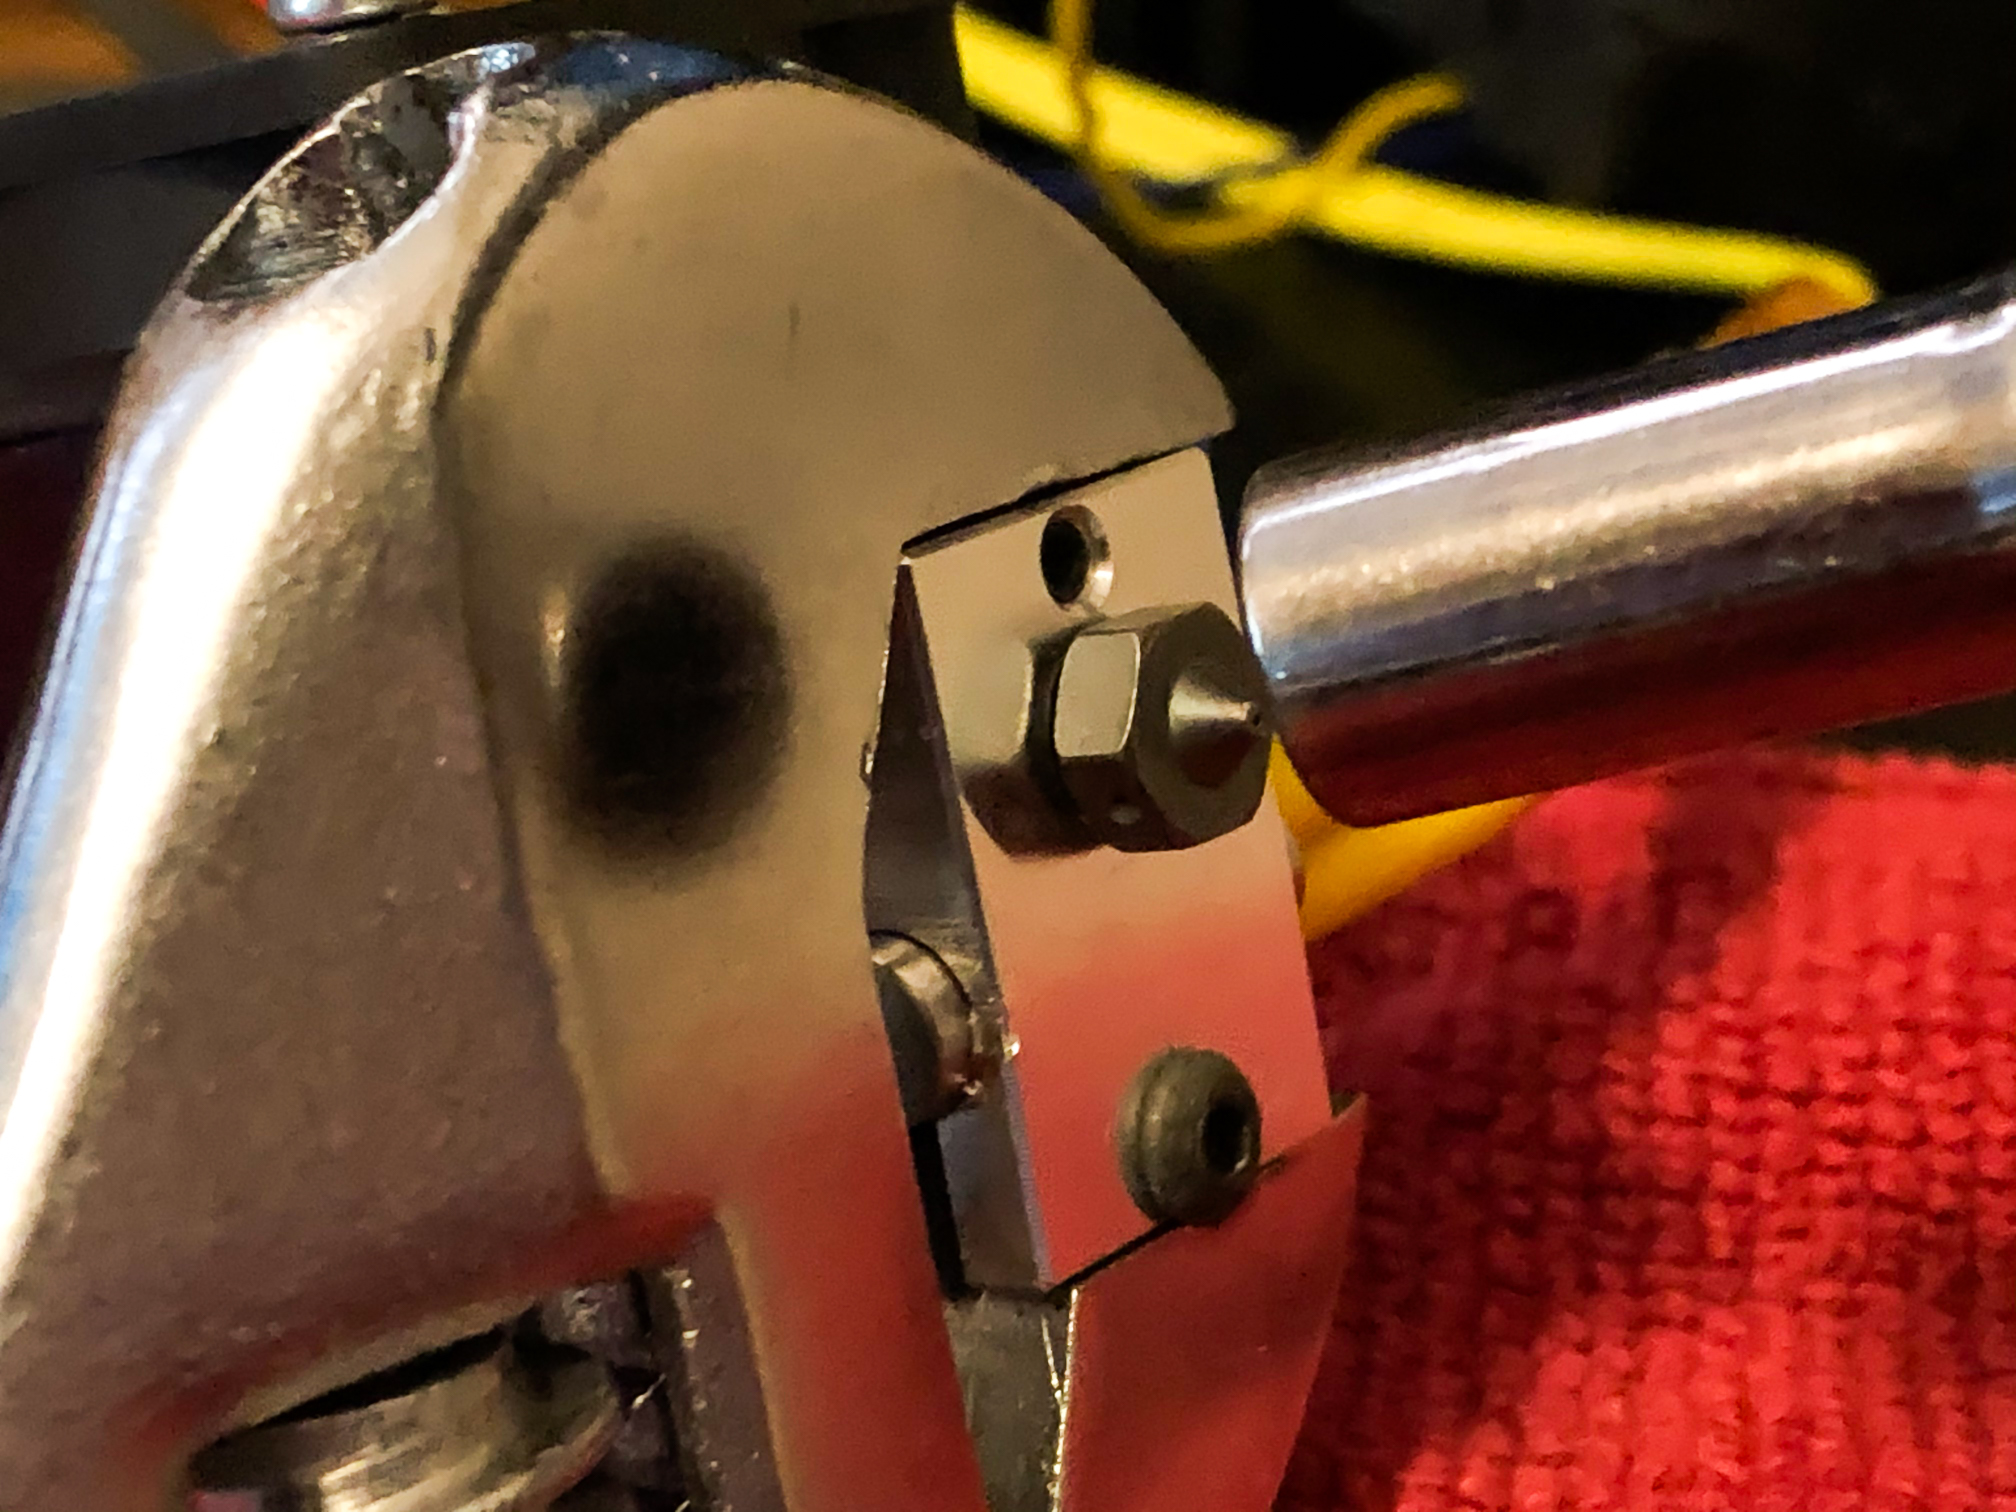
**WARNING**
Be careful of what you read, or which YouTube videos you watch. I watched an older video that showed placing the heater tightening screw on the wrong side of the heater block as shown in the grey image below. It will not work to tighten the block around the heater. DON'T DO THIS!

If you do...
If you do this like I did, you'll totally strip that screw, and it'll be hard to get it out. In fact, I had to take a hack saw and cut a slot for a slotted screw driver, in order to get it removed. Thank goodness E3D gives you 1 extra of this screw...
Install the heater cartridge (properly)
Place the heater cartridge in its opening. Note the orientation below. Also note that each end of the cartridge does stick out of the hole a bit, intentionally. Now, place the screw in the proper, smaller side of the heater block clamp area and tighten enough so that your heater cartridge can't come loose. Do a little test by tugging slightly on the wires to make sure it won't come free.
Apply thermal compound
Your kit should have included a small packet of thermal compound. Mine didn't, so I went and grabbed some from a PC build. You don't need to use much - just lightly coat the heat break.
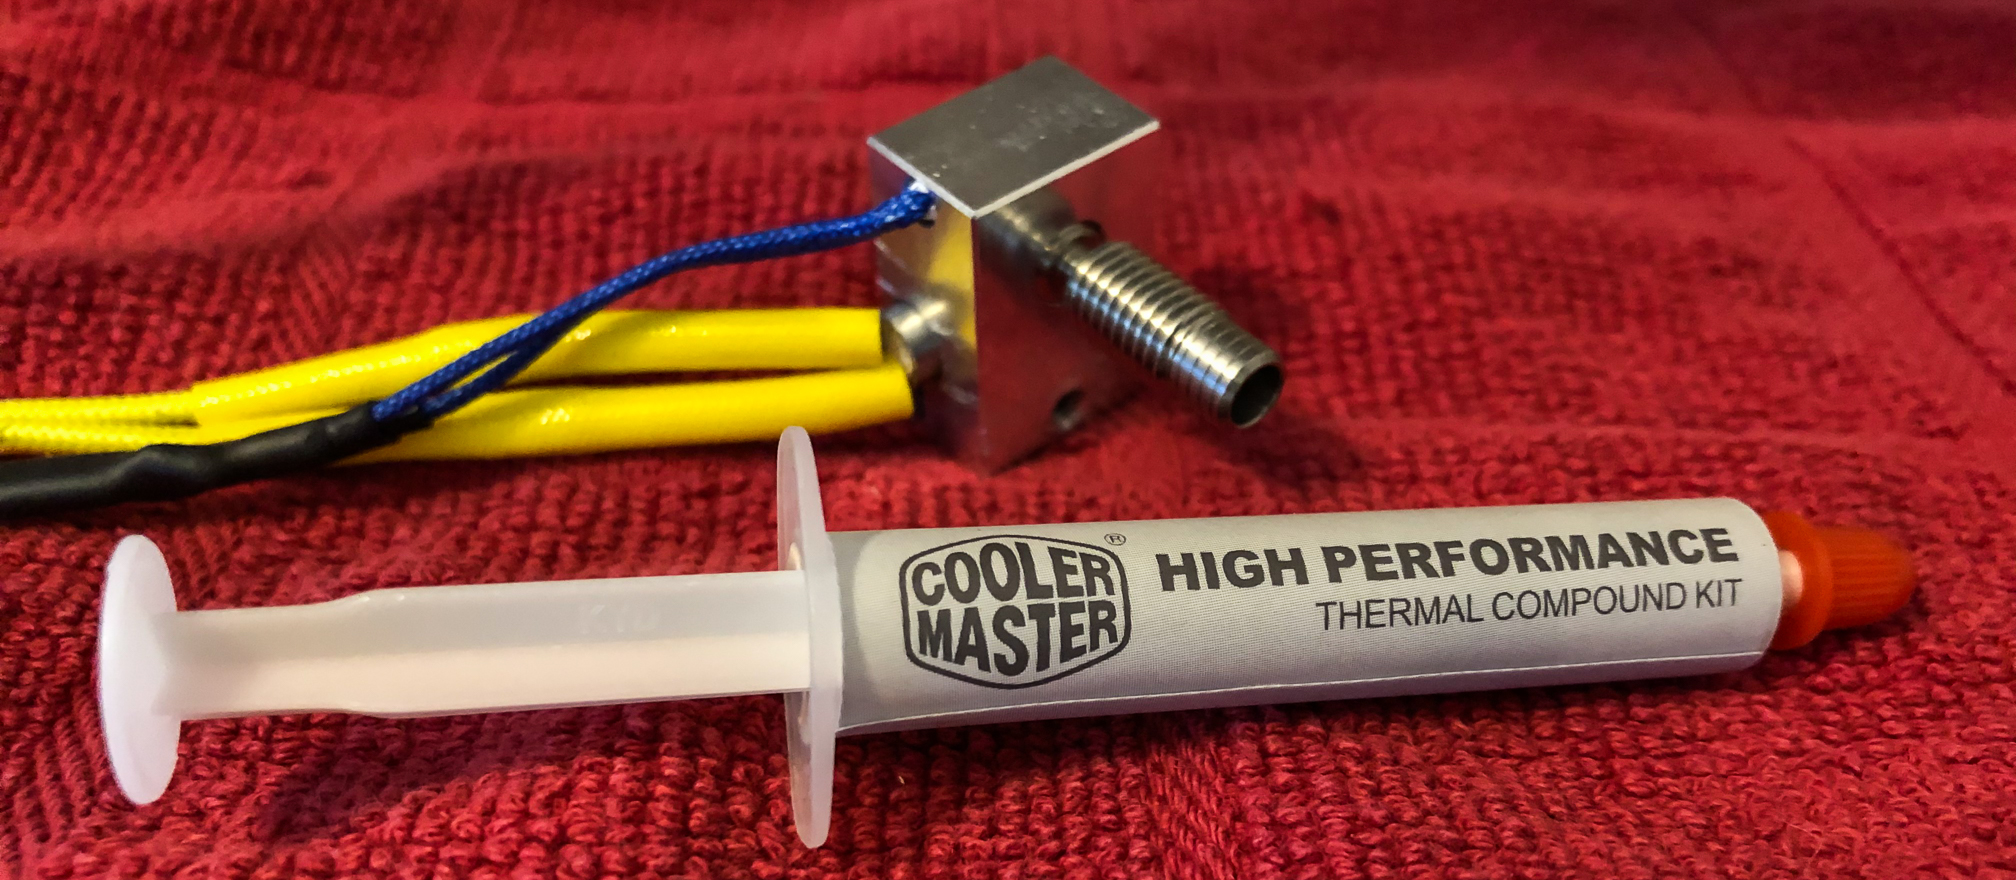
Screw in the heatsink onto the heat break where you've applied the compound. You can wipe away any excess.
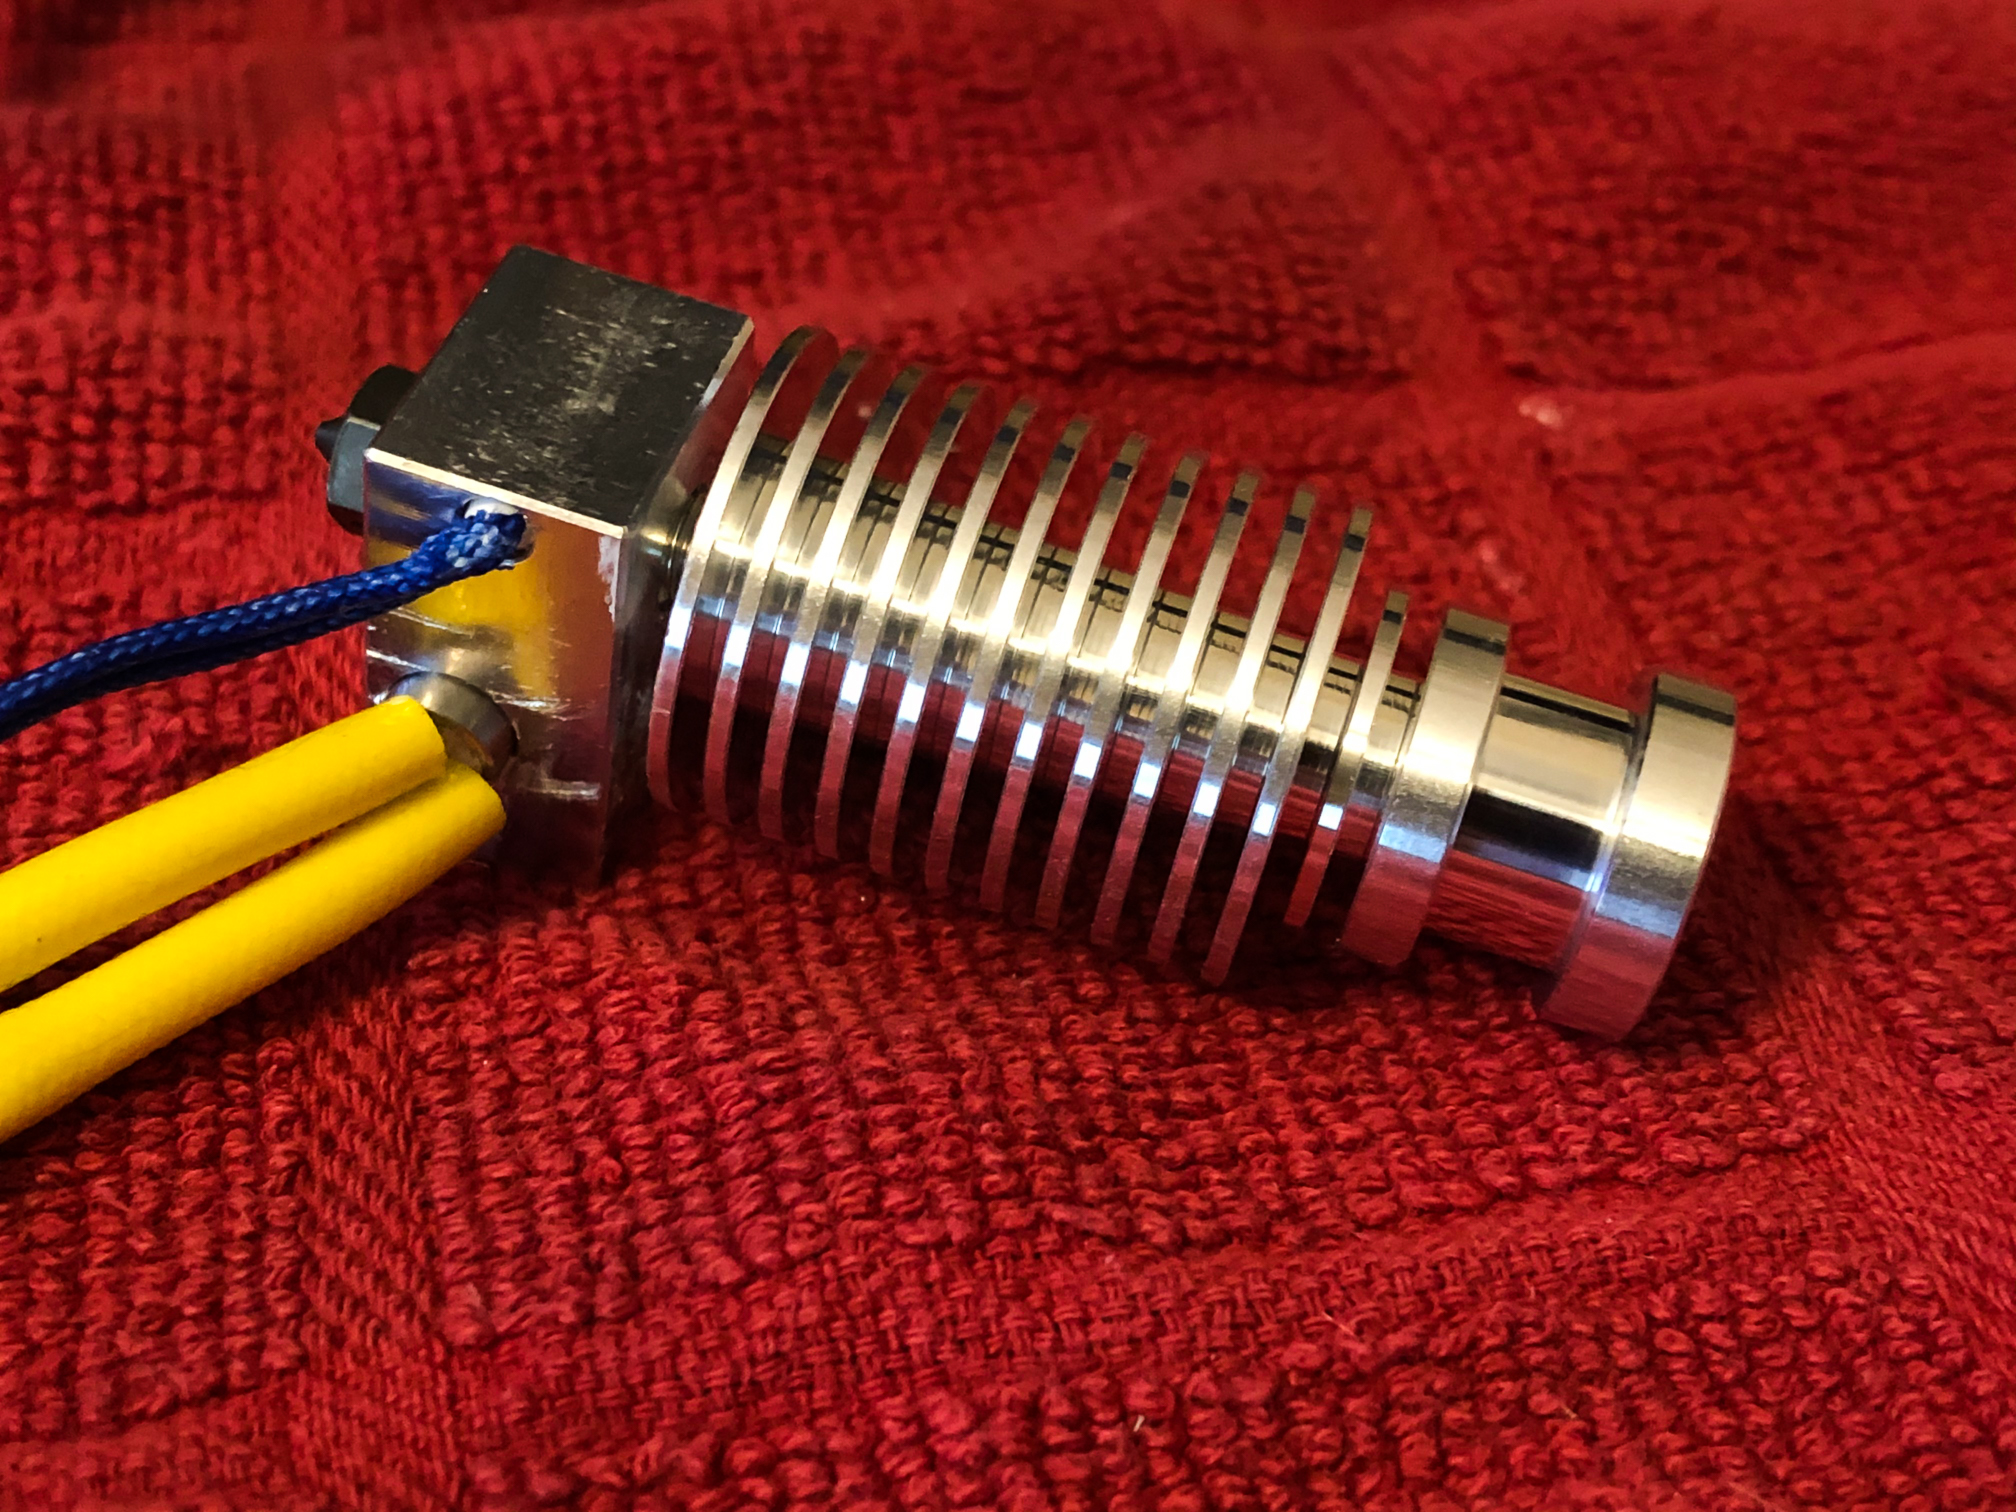
Installing the PTFE tube
One of the great benefits to this upgrade is that you will have a full PTFE tube from the heater block all the way up to the direct drive. This is useful so that there's no place for melted plastic to gather and clog. We'll install and measure it now...
Trim the bottom end
You'll need to make sure that the end of the PTFE tubing that will sit inside your hot end is square and flat. You might want to place some filament in the tubing before you cut it, to ensure it stays round and doesn't flatten. Cut a small slice off with a very sharp knife like a craft knife, Xacto blade, etc.
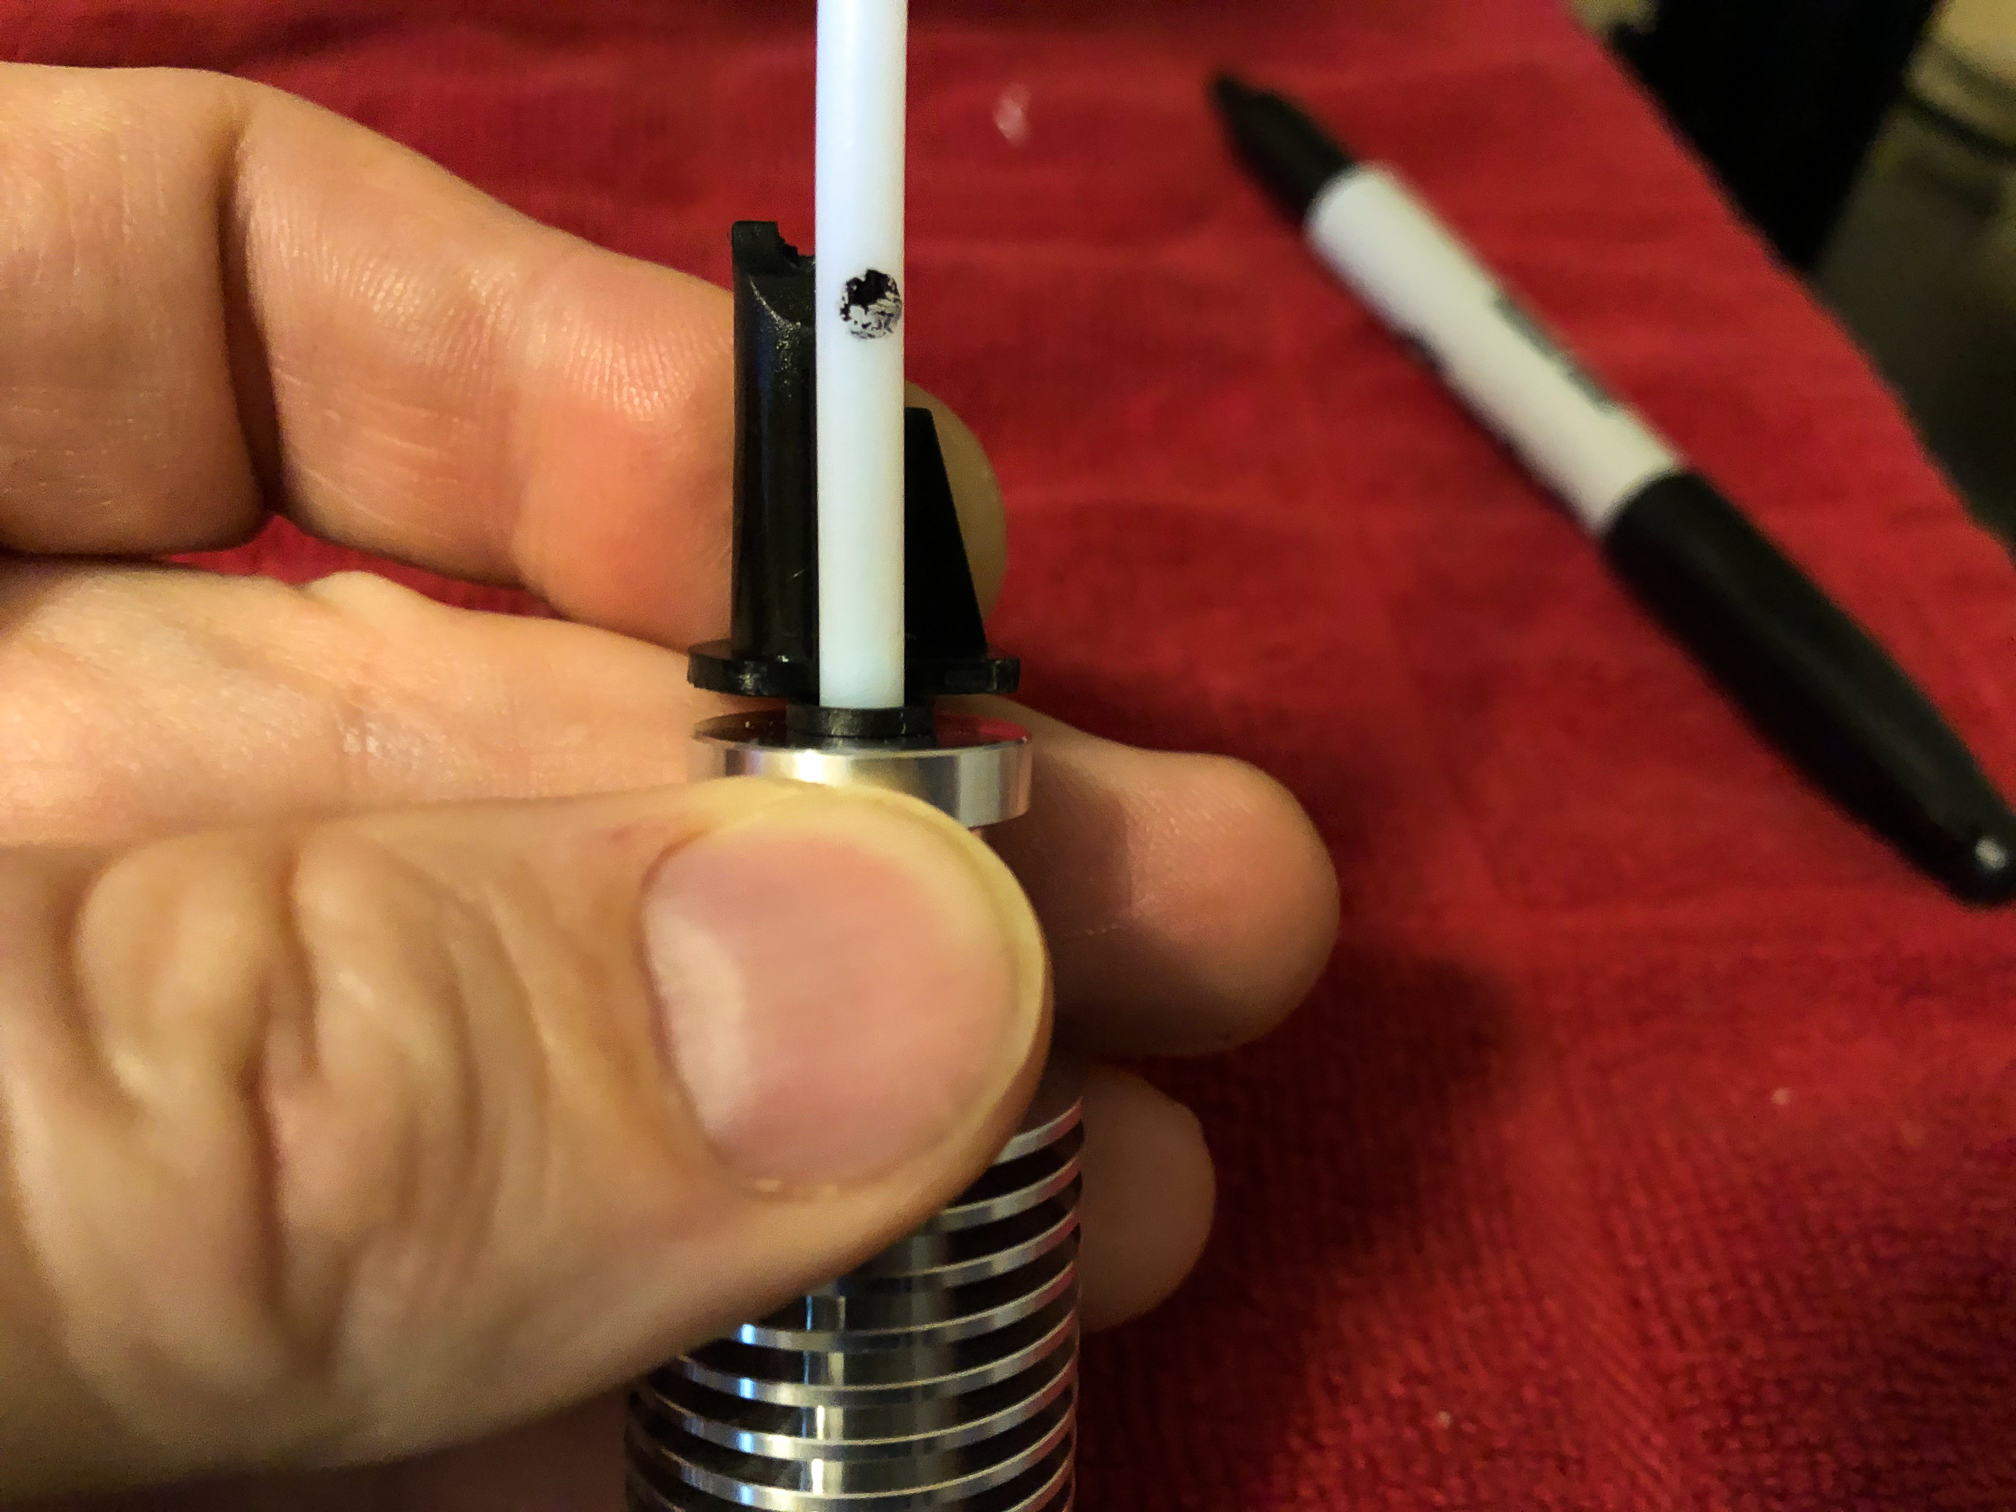
Measuring the PTFE tube
Insert the Collet Clip into the top of the Heatsink. This prevents the PTFE tube from moving, as it grabs it a bit. Install the PTFE tubing until it reaches the bottom. Make sure it's all the way down:
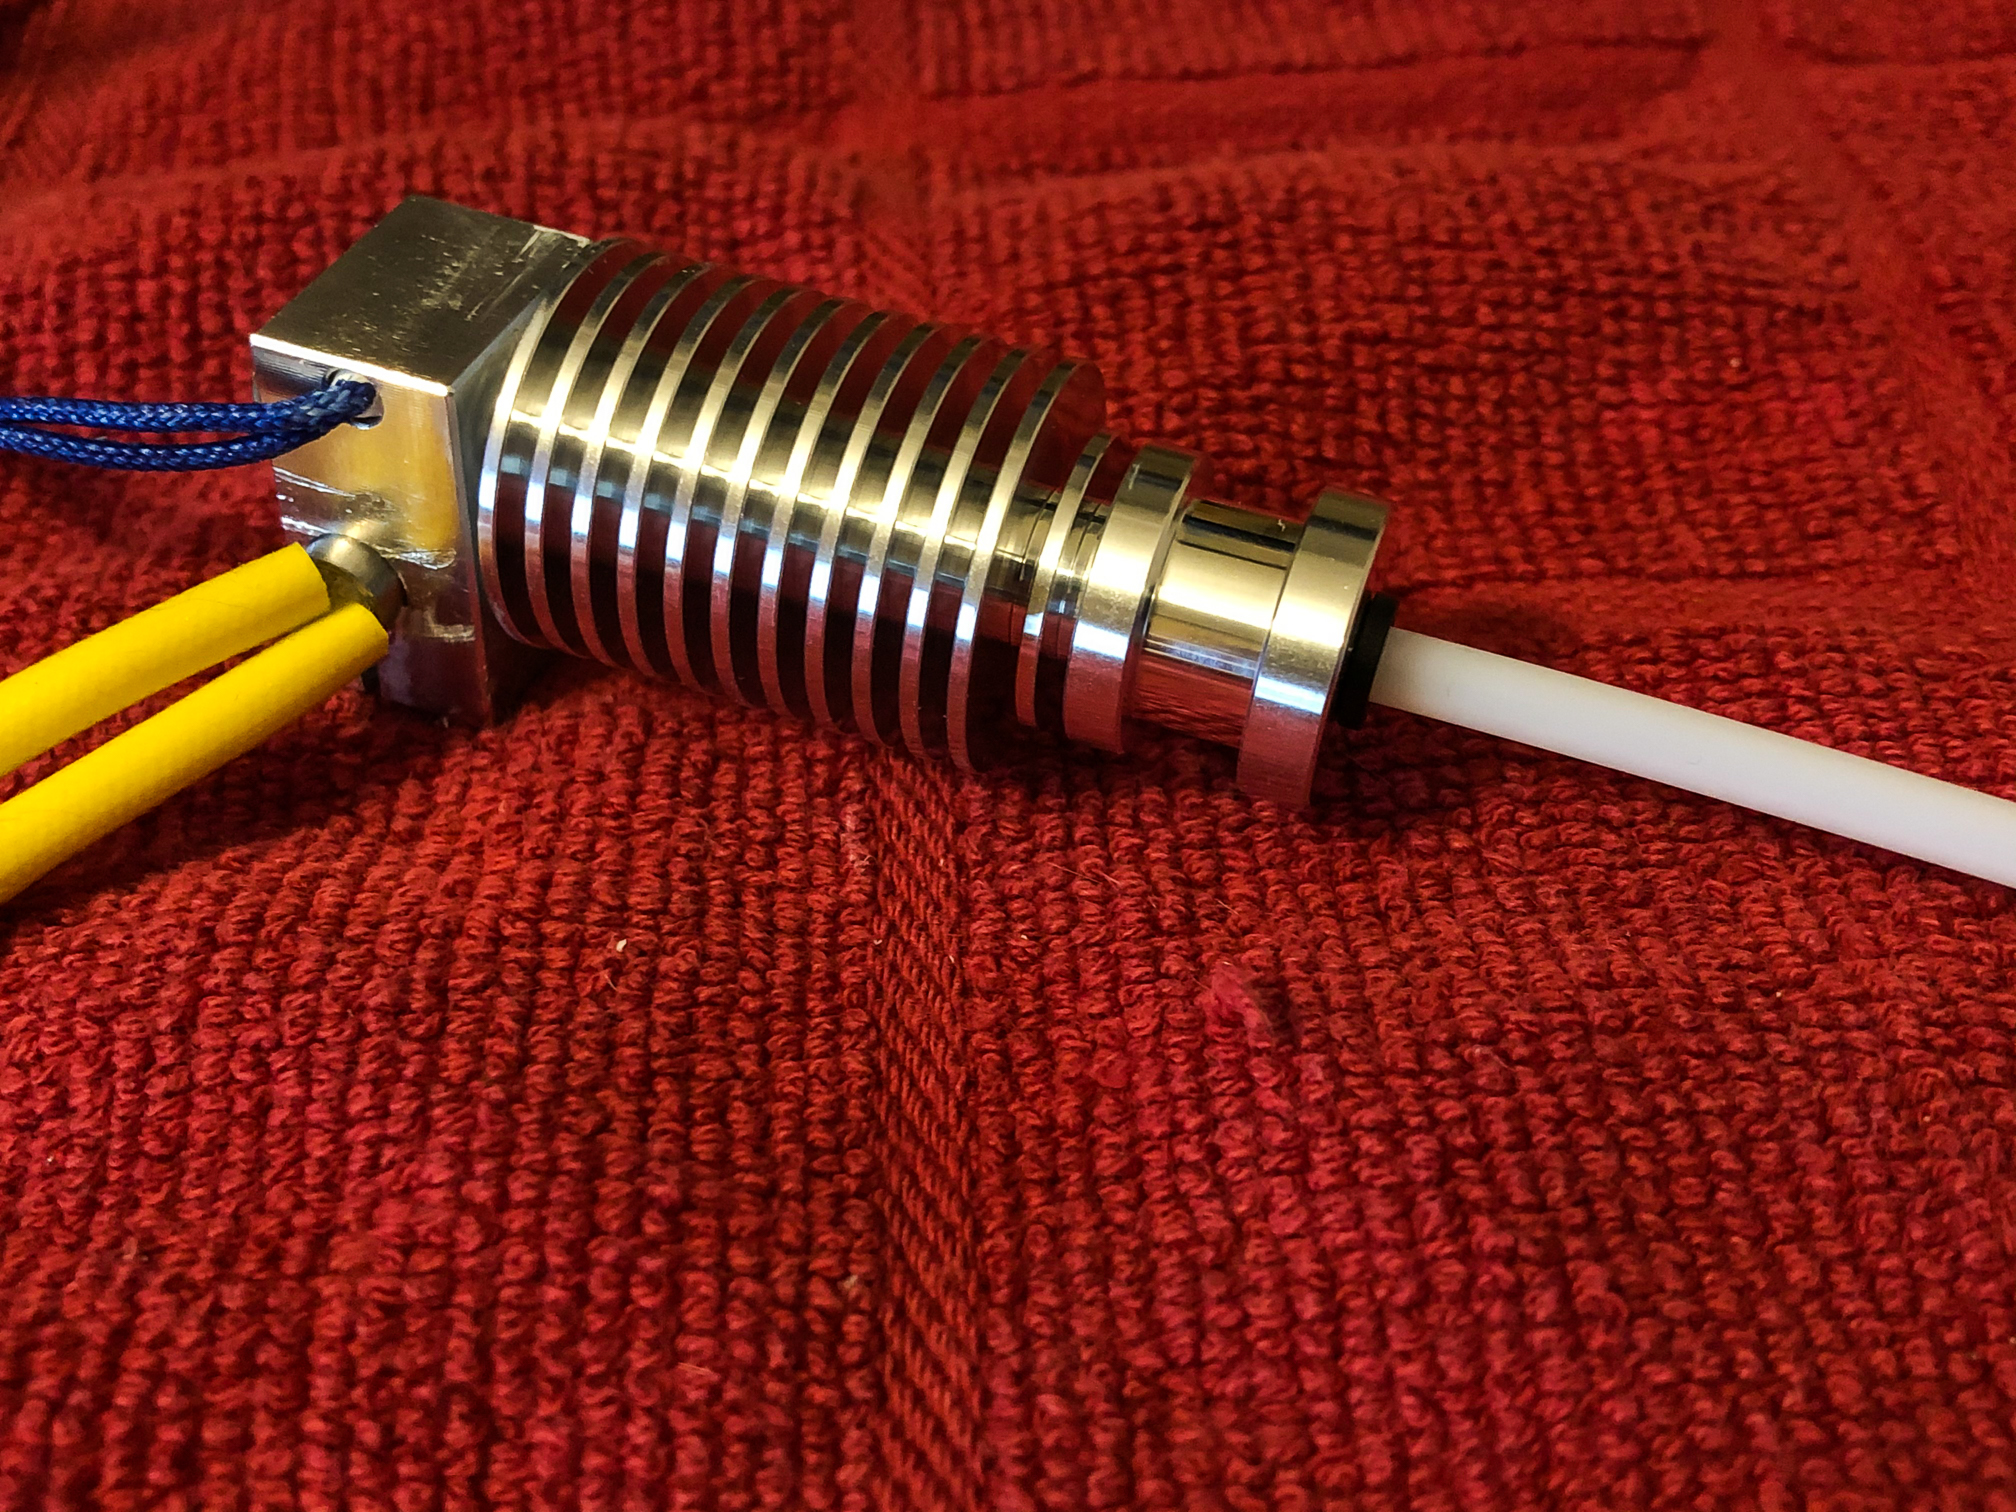
Next, put the cone-shaped filament feeder piece in place, next to the tubing, but on top of the Collet Clip. (The tubing is too long to fit inside the cone.) We'll need to measure how high the PTFE tube can go, and mark it at the bottom of the "wedge" shape. The goal is to get the flat top of the tube to rest against the bottom of the wedge on the cone. Nope, Sharpie markers aren't great for a slippery PTFE tube...
Cutting the PTFE Tube
Again, you will likely want to put some filament in the top end that you'll need to cut, to ensure it doesn't flatten as you slice through. With that sharp blade, carefully cut the PTFE to match your marking from the step above.

Fan
Another thing that happened to me, is that the original factory fan that came with my SV-01 broke the tiny plastic connection between the blades and the casing. So I needed a new heater block fan. Luckily, it came with the kit.
If you are re-using your original fan and duct, simply attach it to the heatsink. If you're re-using, you'll have to solder (or use a connector) the new fan to the system, and then screw it into the fan duct.
Either way, make sure the fan covers the fin closest to the heater block, and blows towards the heatsink.
Firmware update needed
Before we can continue, you must have new firmware added to the printer, in order to have it understand the values coming from the new thermistor. I'll cover rebuilding the updated Marlin firmware in an upcoming tutorial.
You will need 2 builds to install this properly: 1) "temporary" build that allows you to set the max temperature artificially high for our next step, and 2) the one that you will continue to use every day. If you cannot build this yourself, reach out for help here, or on the SOVOL 3D Facebook group. Chances are that someone has built what you need before.
Please understand that you have to make sure you match to exactly what you have in your system. For instance, BL Touch / No BL Touch, E3D V6 thermistor or stock, silent board or not, etc.
If you're building the firmware for yourself or finding one built online for the E3D V6, ensure that it has set the line in config.h to "#define TEMP_SENSOR_0 5". This tells it that it's the type of thermistor that E3D uses for the V6. If your system doesn't know the type of thermistor, you aren't going to be measuring the heat properly, which is very dangerous.
For the max temperature setting, here's where it gets tricky: you'll have to set this value artificially high, as the LCD UI lowers the actual max temp by 15 degrees under what's set as maximum (for safety). While the metal of your new E3D V6 hot end can withstand very high temperatures, your thermistor can only go up to around 285°C for extended periods. To get the hot tightening done in the next step, you have to bring it up to the max temp of 285 - this means that we'll need to set it temporarily to 300°C (285 + 15 = 300). MAKE SURE THAT YOU DO NOT LEAVE IT AT 300. To set this value (if you're rebuilding), find the line that reads "#define HEATER_0_MAXTEMP" and change the current value to 300. Rebuild it and flash the printer with this update.
Hot Tightening
Now that we can get the printer to 285°C, we will perform the last mechanical step before reassembly. This is very important in order to seal the nozzle and heat break together to ensure that molten plastic cannot leak out of the hot end in use. That's a nasty problem that you don't want to have to diagnose later...
- Using the SV-01 LCD, set the nozzle temperature to 285, wait for it to reach that temperature, and wait 1 additional minute for it to equalize.
- Gently tighten the nozzle while holding the heater block still with a wrench. You'll need a 7mm socket to tighten the nozzle. This will tighten the nozzle against the heat break and ensure that your hot end does not leak.
- Aim for 3Nm of torque on the hot nozzle - about as much pressure as you can apply with one finger on a small socket wrench.
- When it's tightened, go back to the SV-01 LCD and reduce temperature all of the way to cool it back down.
Note: Don't apply the wrench or pliers to the heater block until it has come up to temperature. (I rested mine on the glass bed until then.) The reason for this is that the heat will transfer from the heater block to the metal wrench, and never get up to the proper temperature. This will likely cause a "timeout" error. Make sure that you don't burn yourself when getting the wrench on that very hot metal! (I used another pair of pliers to hold it, then got the wrench on the block and tightened it.)
Once cool, finish by placing the blue silicon sock over the heater block, making sure the nozzle clears and the "snaps" are in place.
Wrapping up
Once you have done the hot tightening step above, you'll want to take the "standard" version of the firmware, and flash that back to the SV-01. Follow the same steps as mentioned above (we like using CURA to send it to the printer), but make sure you are not using the 300 degrees version but rather the standard temperature version. This is for your own safety.
A word on firmware versions
We tend to use the CopterTEC releases. I'm still running 2.0.1 because I haven't needed to use anything newer than that. However, we know that they continue to update based on the new CURA features. Also, the SOVOL engineers release great, stable builds. I chose 2.0.1, because in December/January when I upgraded my hot end, the SOVOL engineers were still working through their quality process. That can't be understated - they take time because they need to, and you should appreciate that. The SOVOL team is great.
Re-assembly
By now, you should be really familiar with how the printer came apart. It's literally a matter of going backwards, to re-assemble the parts. However, here are a couple of areas that we've found tricky:
- With the new PTFE tube being longer, getting the assembly in place is tricky. We suggest that you place the cone partially in place (using the slots as a guide) at the top, and then getting the heat sink to push into place. Yes, it will be a bit tight, but it will fit.
- Use Kapton heat tape (Amazon link) just outside of the heater block, like how it came when you got it. Don't use a ton.
- Orientation of the heater block and wires: We found that the wires are best to go out towards the back of the printer. It makes it easier to zip tie back up, and get everything to align with the wire wrap. It will make it a bit tricky to get the E3D blue silicon sock to go around the heater, but if you take your time, it will fit.
Neaten it up a bit
With that said, make sure to zip tie the wires so that they are nice and neat. Don't forget there's a hole on the aluminum behind the carriage where you can zip tie the wires in place. (You have previously cut the existing wire tie to make room to work on everything.) Let loose the zip tie that was temporarily holding the wire wrap, bring it back down in place, and re-zip tie it so that it's neat again and covers all of your assembly. I had a bit of extra wire from my thermistor and heater cartridge, so I had to tuck it into the wire wrap a bit. Don't worry - it can take it, and should look and function just fine.
Nozzle height
After you get it all back together, you may notice that the bottom of this nozzle sits almost1mm higher than the stock nozzle. (Meaning, that it's "shorter", from the point of view of the heater block.) The issue you may run into is that the bottom of the stock fan duct will be lower than the nozzle, and will likely hit your prints.
You could try to find a more shallow fan duct, but given the fact that the stock duct is pretty thick and the bottom of it comes very rough in the first place, we simply sanded some off of the bottom with a palm sander until it cleared properly. That plastic is pretty hard, so it will take a bit. People often find it handy to use some electrical tape to make sure it doesn't slip out of the fan housing in the middle of a print.
Get printing!
It was a bit of work to replace the E3D V6 hot end. But it's also such a relief that I don't have clogging issues. I can't stress enough how much I also appreciate the choice of the hardened steel NozzleX nozzles. So far, I have a 0.4mm and 0.6mm nozzle, and they just don't wear like brass nozzles (no change in the opening diameter, so far!) and consistently produce great prints. The combination of those two have the SV-01 printing like a much more expensive printer, and it's now super reliable. Let us know what you're printing by visiting the Creative Graphics Group Facebook page!

