Getting Started
So you have a 3D printer and you want to get started... Now what?
Start by going to GetUsPPE.org and register as a maker. This helps coordinate makers with those who need the PPE (Personal Protection Equipment) the most.
We recommend that you contact the location that you are planning to donate to before getting started with printing. Why?
- Some hospitals aren't accepting home-made items.
- Some have very strict policies on the materials used (i.e., PETG or ABS vs PLA?), the handling of the PPE during manufacturing and delivery, etc.
- Some types of PPE are needed more than others. Don't you want to make the right thing, for the right location?
Basic guidelines
- Make sure your machine is clean. Chances are, your plastic will be heated up enough to consider it clean (200+ degrees celcius), but you don't want it contaminated once printed.
- Wear clean gloves when removing the prints from the printer.
- Place them directly into a gallon zip-lock bag
- Printing with PETG or ABS is generally considered a better material to use, vs standard issue PLA. PLA tends to be more porous and less flexible, and could be harder to sterilize. However, PETG can have its own challenges vs PLA, due to stringing, higher temperatures, etc. Make sure you can handle it, or verify the location can take the material you use.
- Don't store your entire stock in one place, so that you minimize the risk of cross-contamination.
What to print?
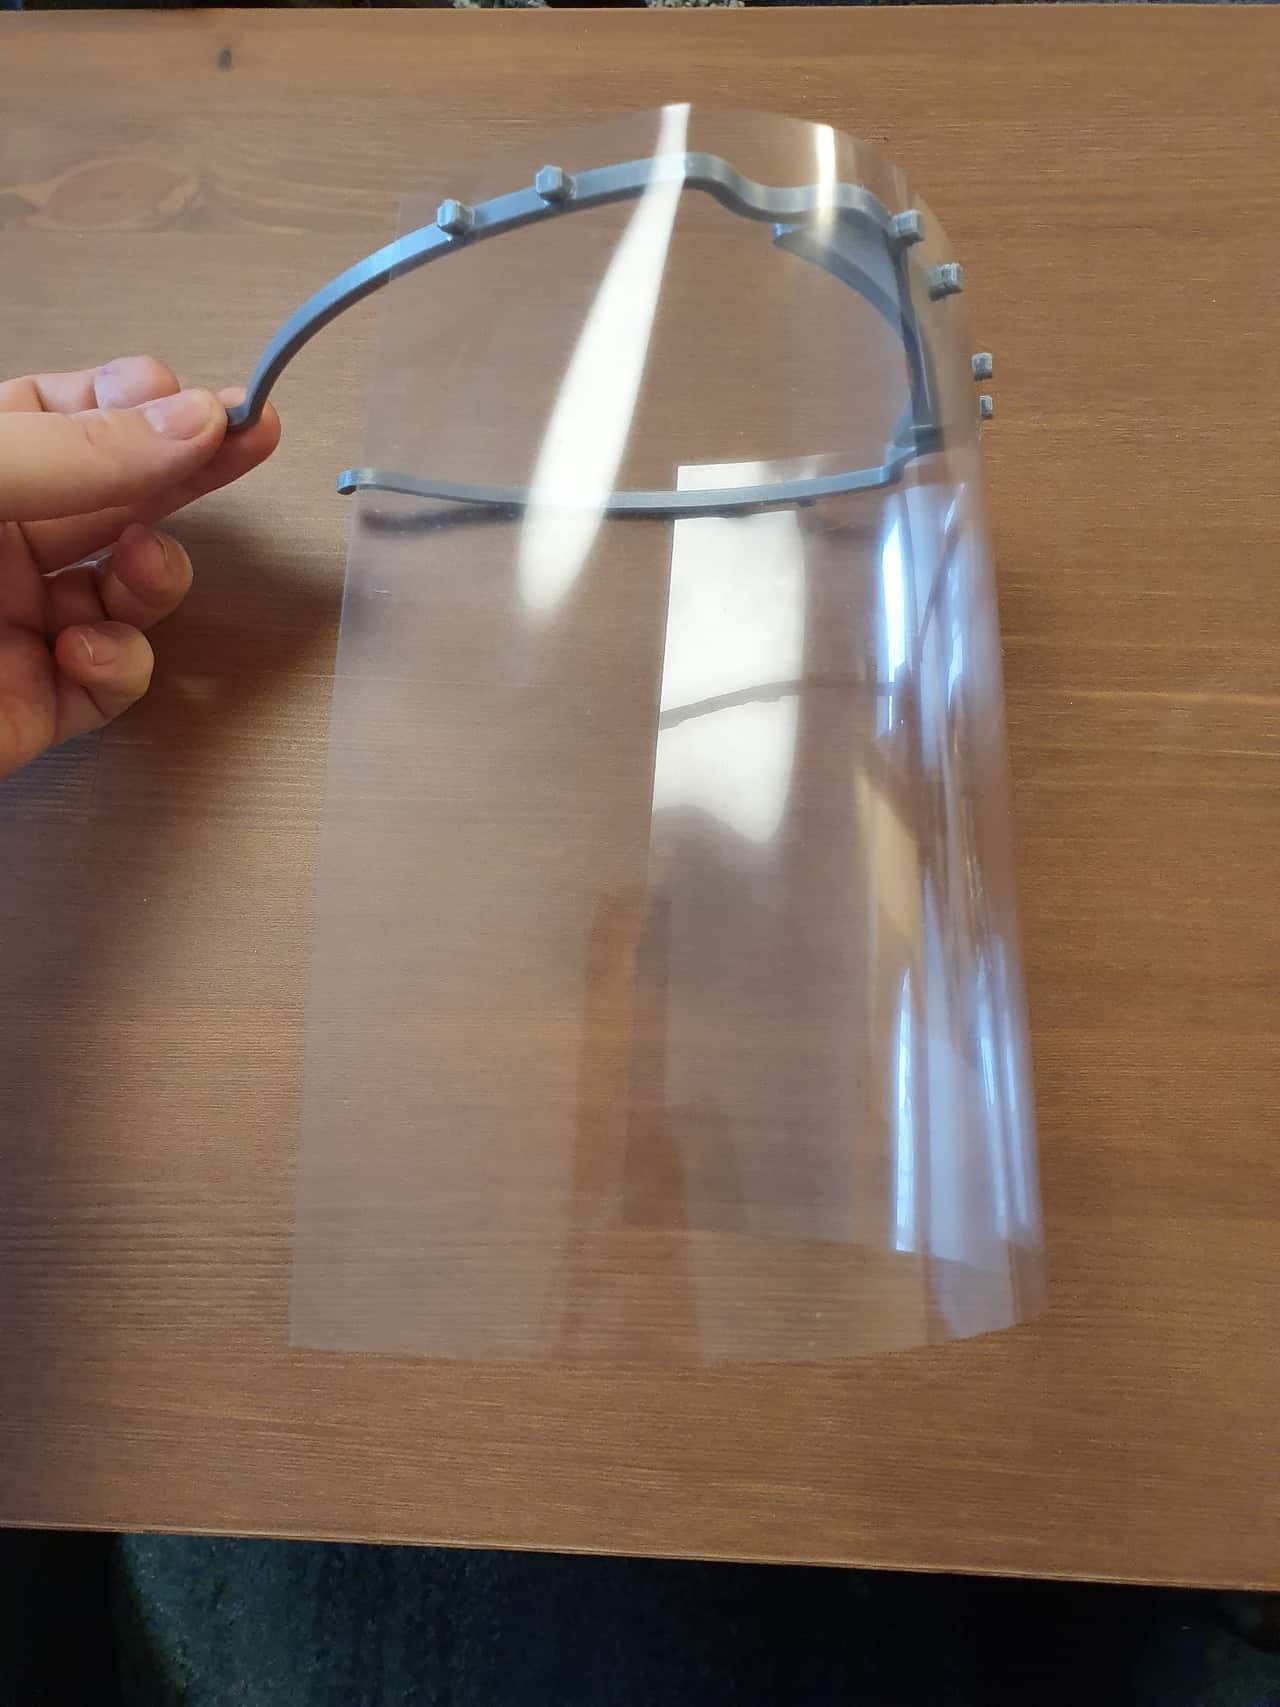
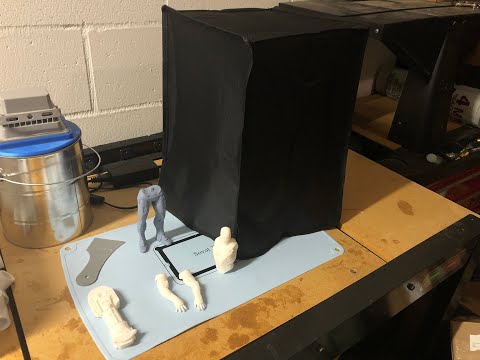
The easiest thing to print seems to be the whole face shield. The issue with smaller masks is that you need to have flexible material (such as an added foam piece) to allow it to conform to your face and have it be usable for extended periods of time. By contrast, full face shields are simple to print, and uses standard "transparency sheets" (think, overhead projector - remember those?) as the shield. Holes are cut (Cricut?) or punched in a very specific location for the sheet to adhere directly to the shield. Here's an example:
Where to find the clear sheets? They are out "everywhere"...
So after printing a bunch of the frames, we started to look for the clear sheets to use. Amazon had some that said they were 8.5" x 11" clear, uncoated transparency sheets. They arrived, and they were far from clear. Very "milky" and hard to see through. Had do return those.
People said to check Staples for the Apollo transparency sheets. They were out of stock. I asked around to some of my friends who have delivered thousands of these shields, and this is what we've come up with: Order them from www.Binding101.com and use either the 7 or 10 mil 8.5"x11", no holes, no tissue sheets. They are about as clear as you can get, and I just paid $13.69 per 100. Look for coupon codes on their web site. (I am not affiliated with them, just passing along information.)
Cutting the sheets
Cricut:
- If you're looking to cut these easily, and you have a Cricut cutter, I've shared my design for these sheets. It uses the Verkstan template, and fits perfectly. Even rounds the bottom corners for them. Here's the link to my design.
Silhouette:
- Greg Harry has told me that he has a similar template for the Silhouette Cameo 4 cutter. The cut file can be found here, and you can also download a screen shot of his settings panel.
Getting the files
Here are some links for the easiest sets of files to get started:
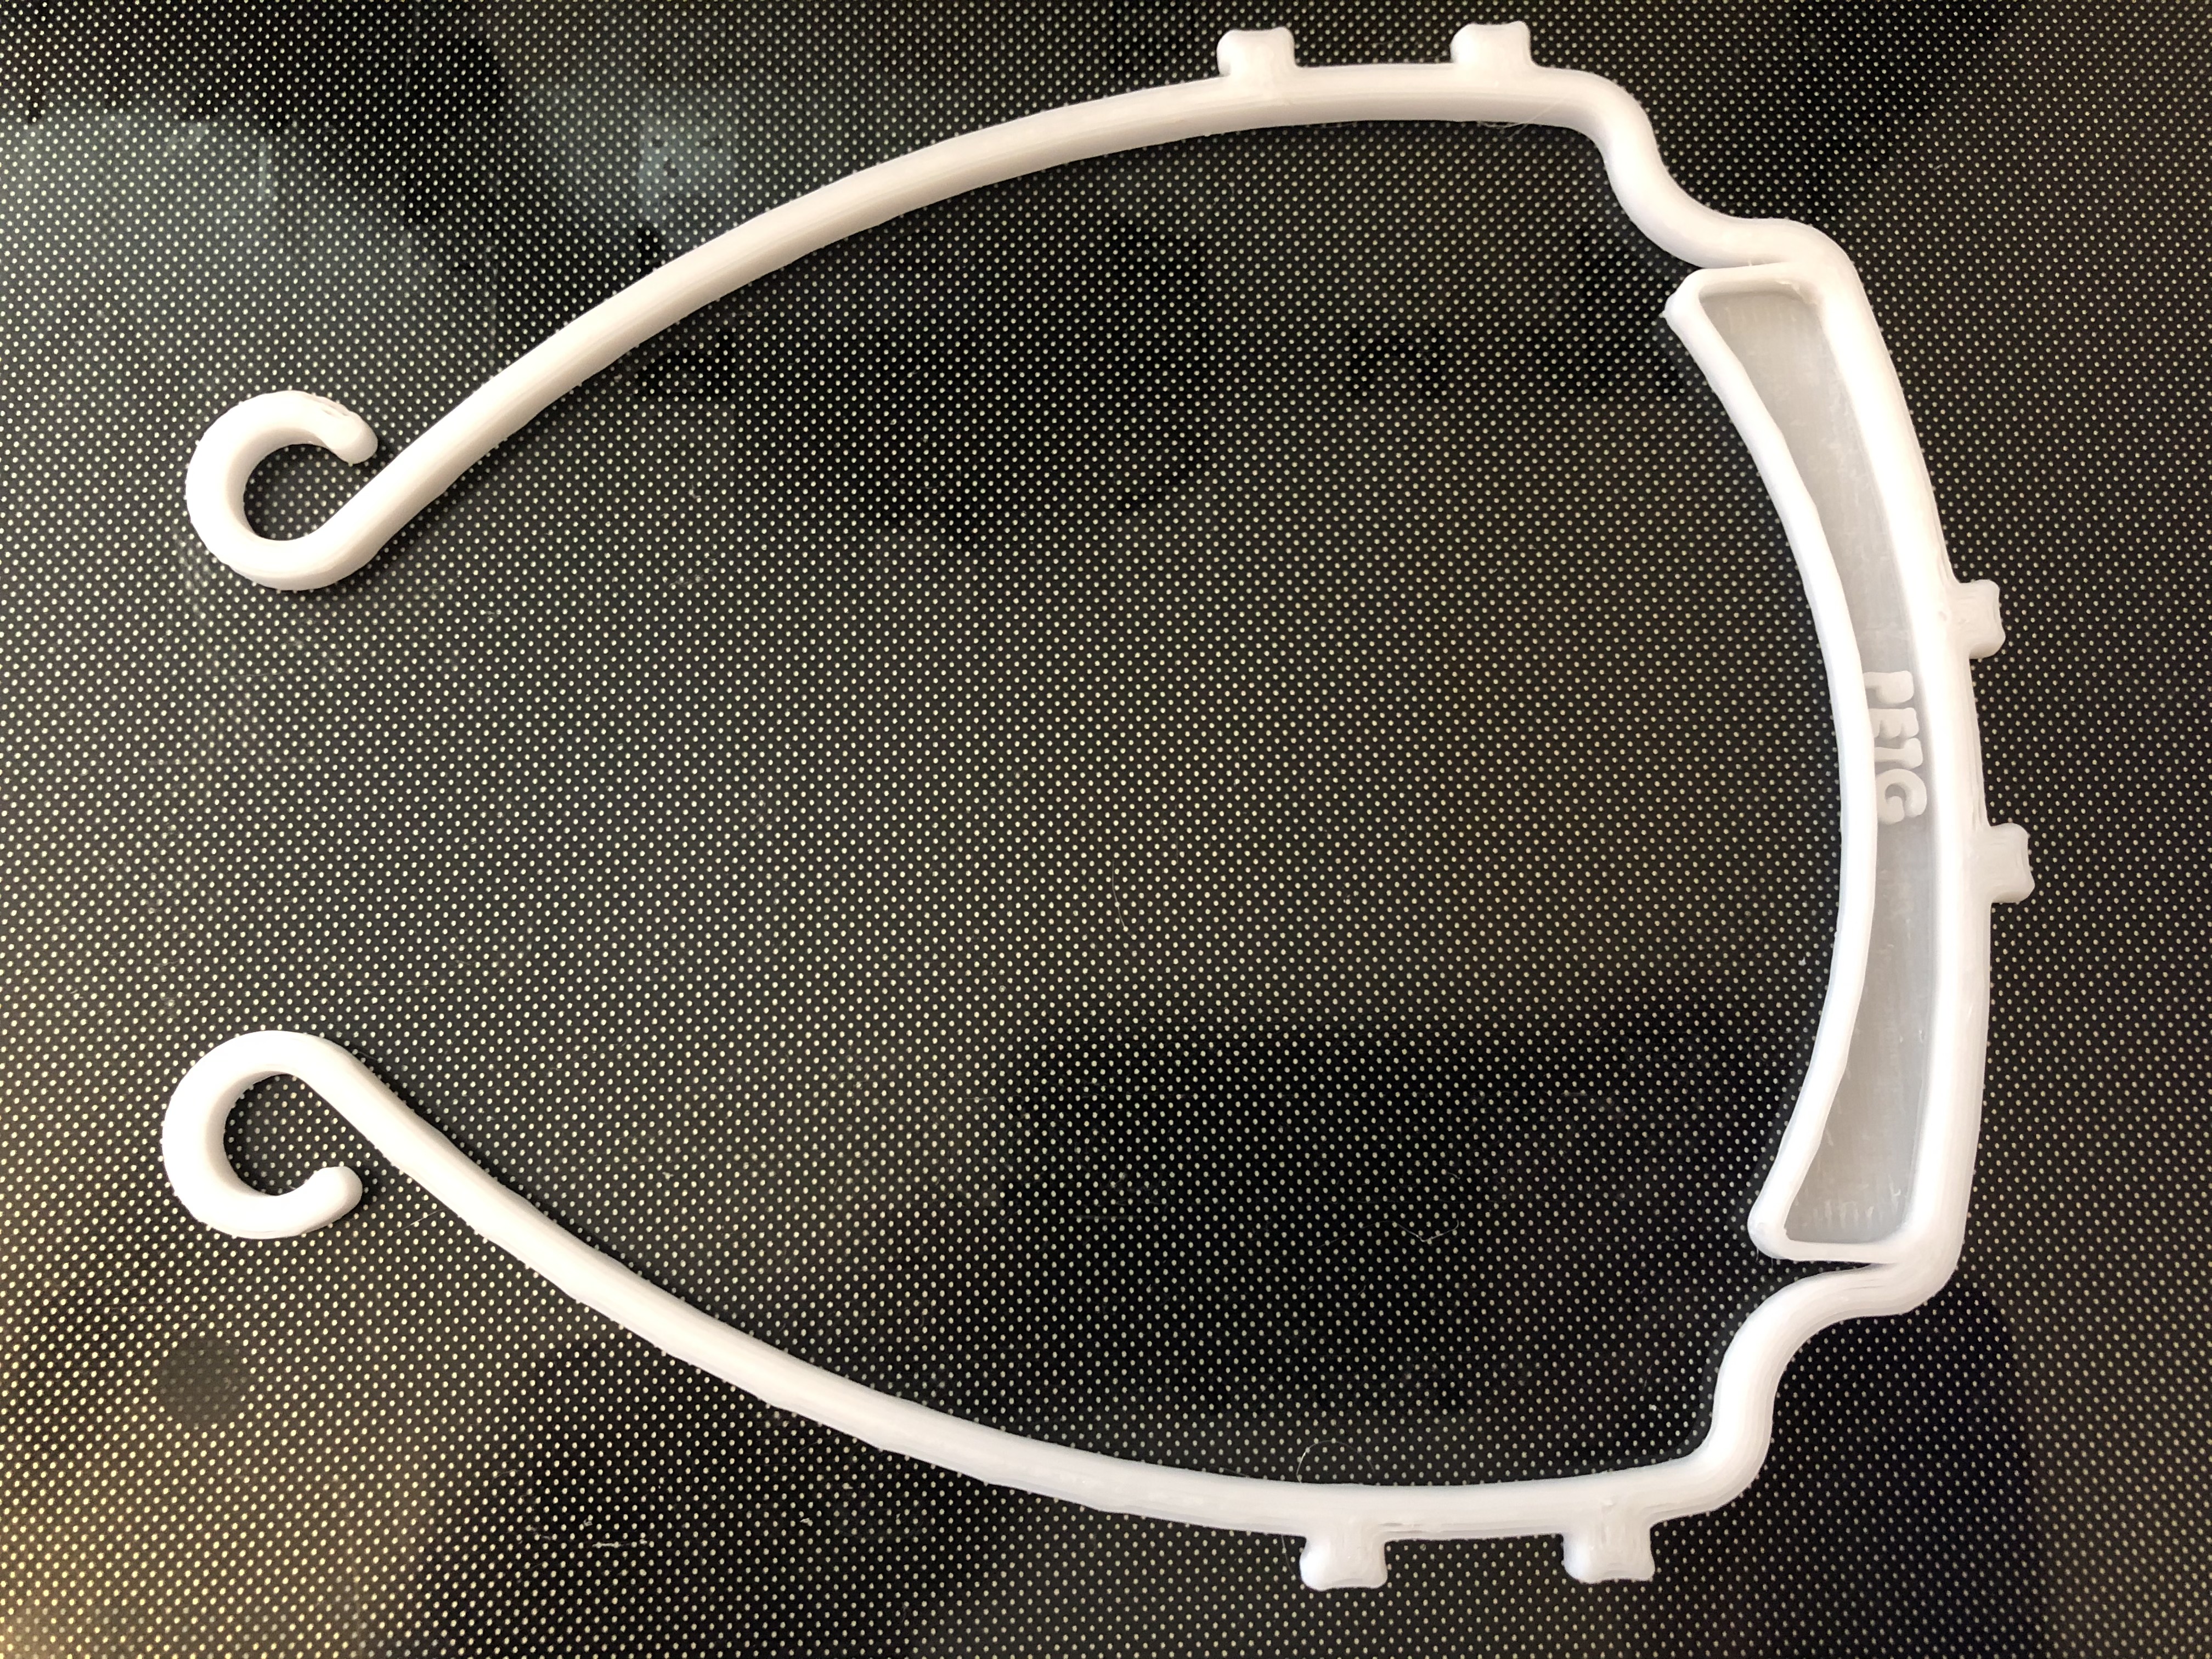
- The Visor Frame, North America for different types of filament (PLA, ABS, PETG) can be downloaded here: North_America_Visor_Files.zip
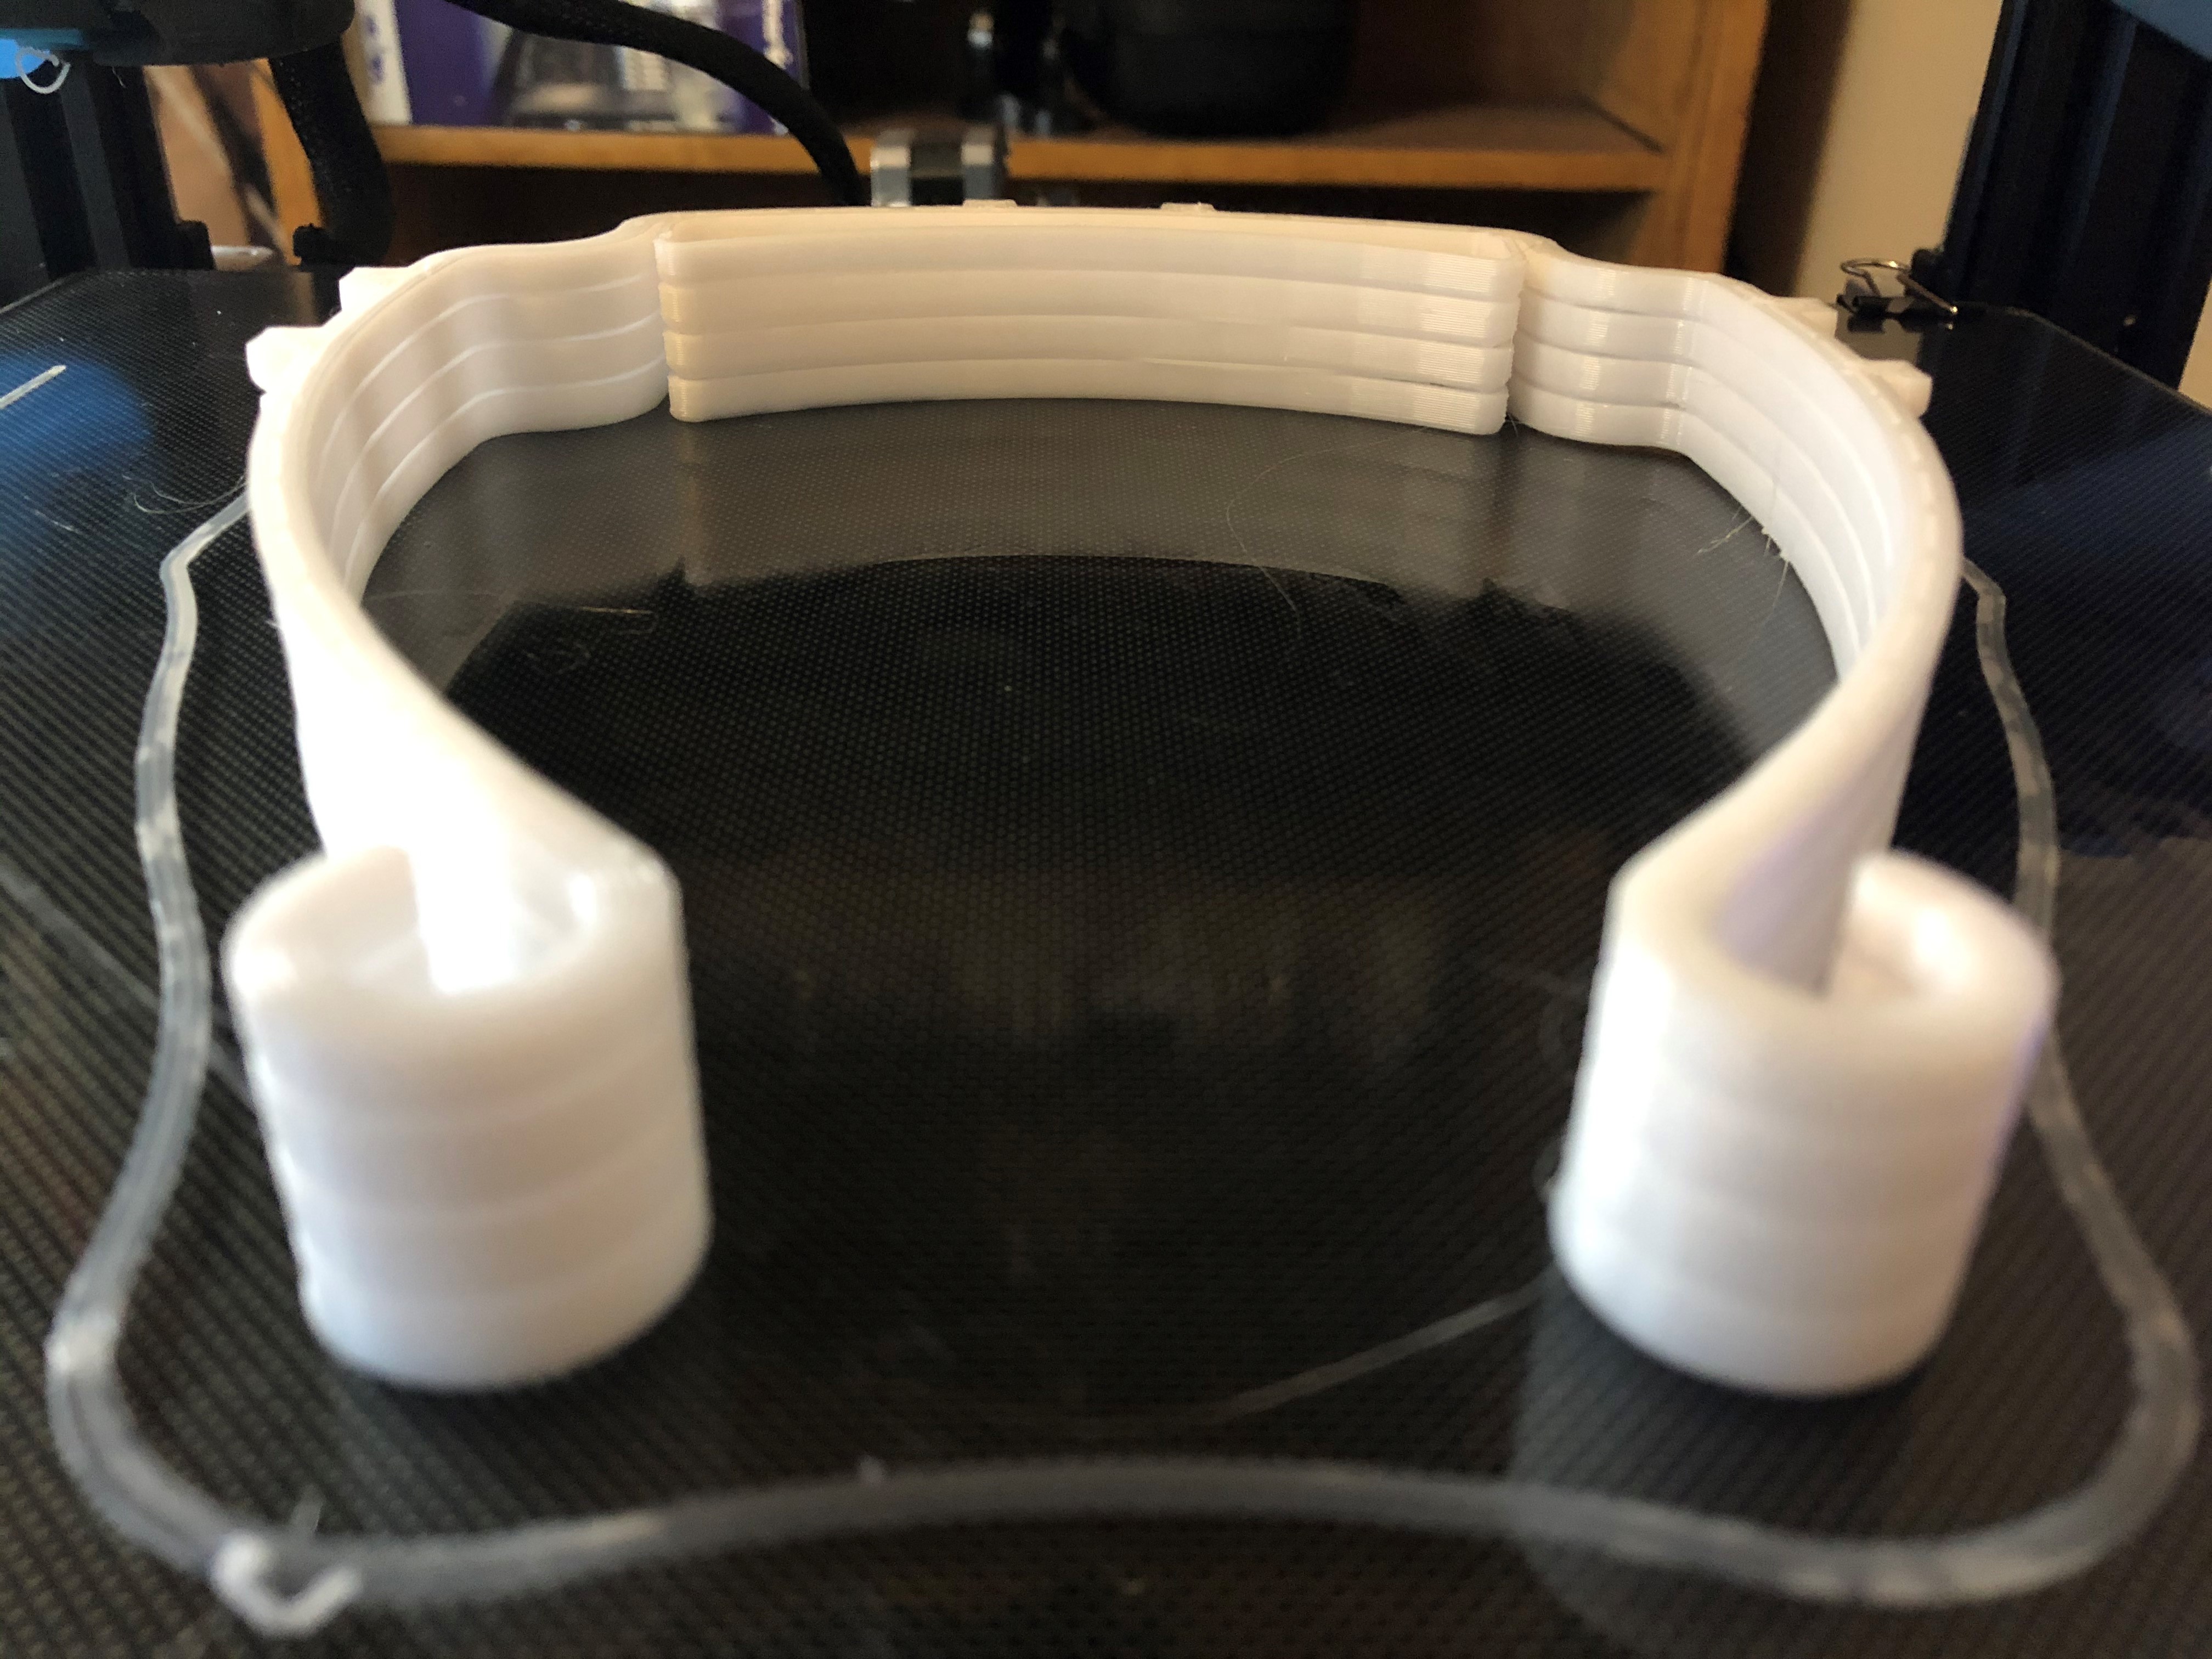
- You can actually print these things stacked vertically. We will post a tutorial on how to do it, this week. For now, here's the PETG frame, stacked 2x, 4x, 6x, 8x, 16x, 20x, and 30x: TEC_PETG_VisorFrame_Stacked.zip Please note that I went into Fusion 360 and edited the area where the word "PETG" used to be, and gave it a flat roof just like the bottom. The reason I did that is because stacking the original model had the top model bottom faces sag slightly, and we need a nice clean print for these. There is no significant increase in print time. (Maybe a minute or 2.)
- NEW, April 18, 2020: I've had requests from people to remove the "drip guard" area at the forehead, so that it's just a frame and not a solid flat area on the top and bottom. This makes it more lightweight, faster to print, and of course uses less plastic. However, make sure that you contact the place where you intend to deliver these face shields, to ensure they will use this design, as it is not technically NIH approved. With that said, many places seem to want to use them - lightweight seems good, and their situation may not require the drip guard. Here's the link: TEC_PETG_VisorFrame_Stacked_NoGuard.zip
Filament
Here are our guidelines on filament:
- PETG or another co-polyester filament is best, as it has better temperature resistance and is slightly better with cleaning chemicals.
- If all you have is PLA, then verify with the location that they can take that.
- What NOT to use: flexible filament like TPU/TPC, anything very porous like LW-PLA, Polymatte, Wood, or fiber-filled filaments. Resin printers have not been evaluated at this time.
Nozzle size
These frames are built for ease of printing. The larger the nozzle, basically the better. If you have a standard 0.4mm nozzle, then it will work but take a bit longer. The common 0.6 or 0.8 nozzles go way faster and can generally lay down things like PETG a bit better.
Print Settings
- Line width:
- 0.4mm nozzle = 0.5mm
- 0.6mm nozzle = 0.66mm or 0.8mm
- 0.8mm nozzle = 0.8mm or 1.0mm
- Layer height:
- 0.4mm nozzle = 0.25mm
- 0.6mm nozzle = 0.3mm
- 0.8mm nozzle = 0.3mm
- Note: We set the Initial Layer Line Width in CURA to 150%
- Print speed:
- Technically you could use something like 50mm/s, especially if printing PLA. We did a test on our SOVOL SV-01 and it even did well at 100mm/s.
- However, in practical use, we've found PETG needing way slower speeds, so we've set ours to 30mm/s
- Infill:
- 0% infill on this! Walls make up the difference.
- Shell:
- We print well using 4 wall line count (at 0.66mm, that's 2.64mm)
- For top layers, we have used 4 (1.2mm)
- For bottom layers, especially with stacked printing, we use 5 bottom layers (1.5mm)
- Temperature:
- Printing temp: 240 degrees C
- Build plate temp: 70 degrees C
- Flow:
- Conventional wisdom on PETG says to pull back the flow 5% from what you would do with PLA.
- For our PETG, we actually had to decrease to 88% flow. But this seems to vary greatly depending on brand, and your hot end setup.
- Retraction:
- For the SV-01 with direct drive, our retraction distance is 1.45mm and speed of 45mm/s
- Other:
- We printed with a 2 line skirt
- No supports
- 100% cooling after layer 3 (Many will tell you to use 30% fan with PETG. Trust us here.)
What else?
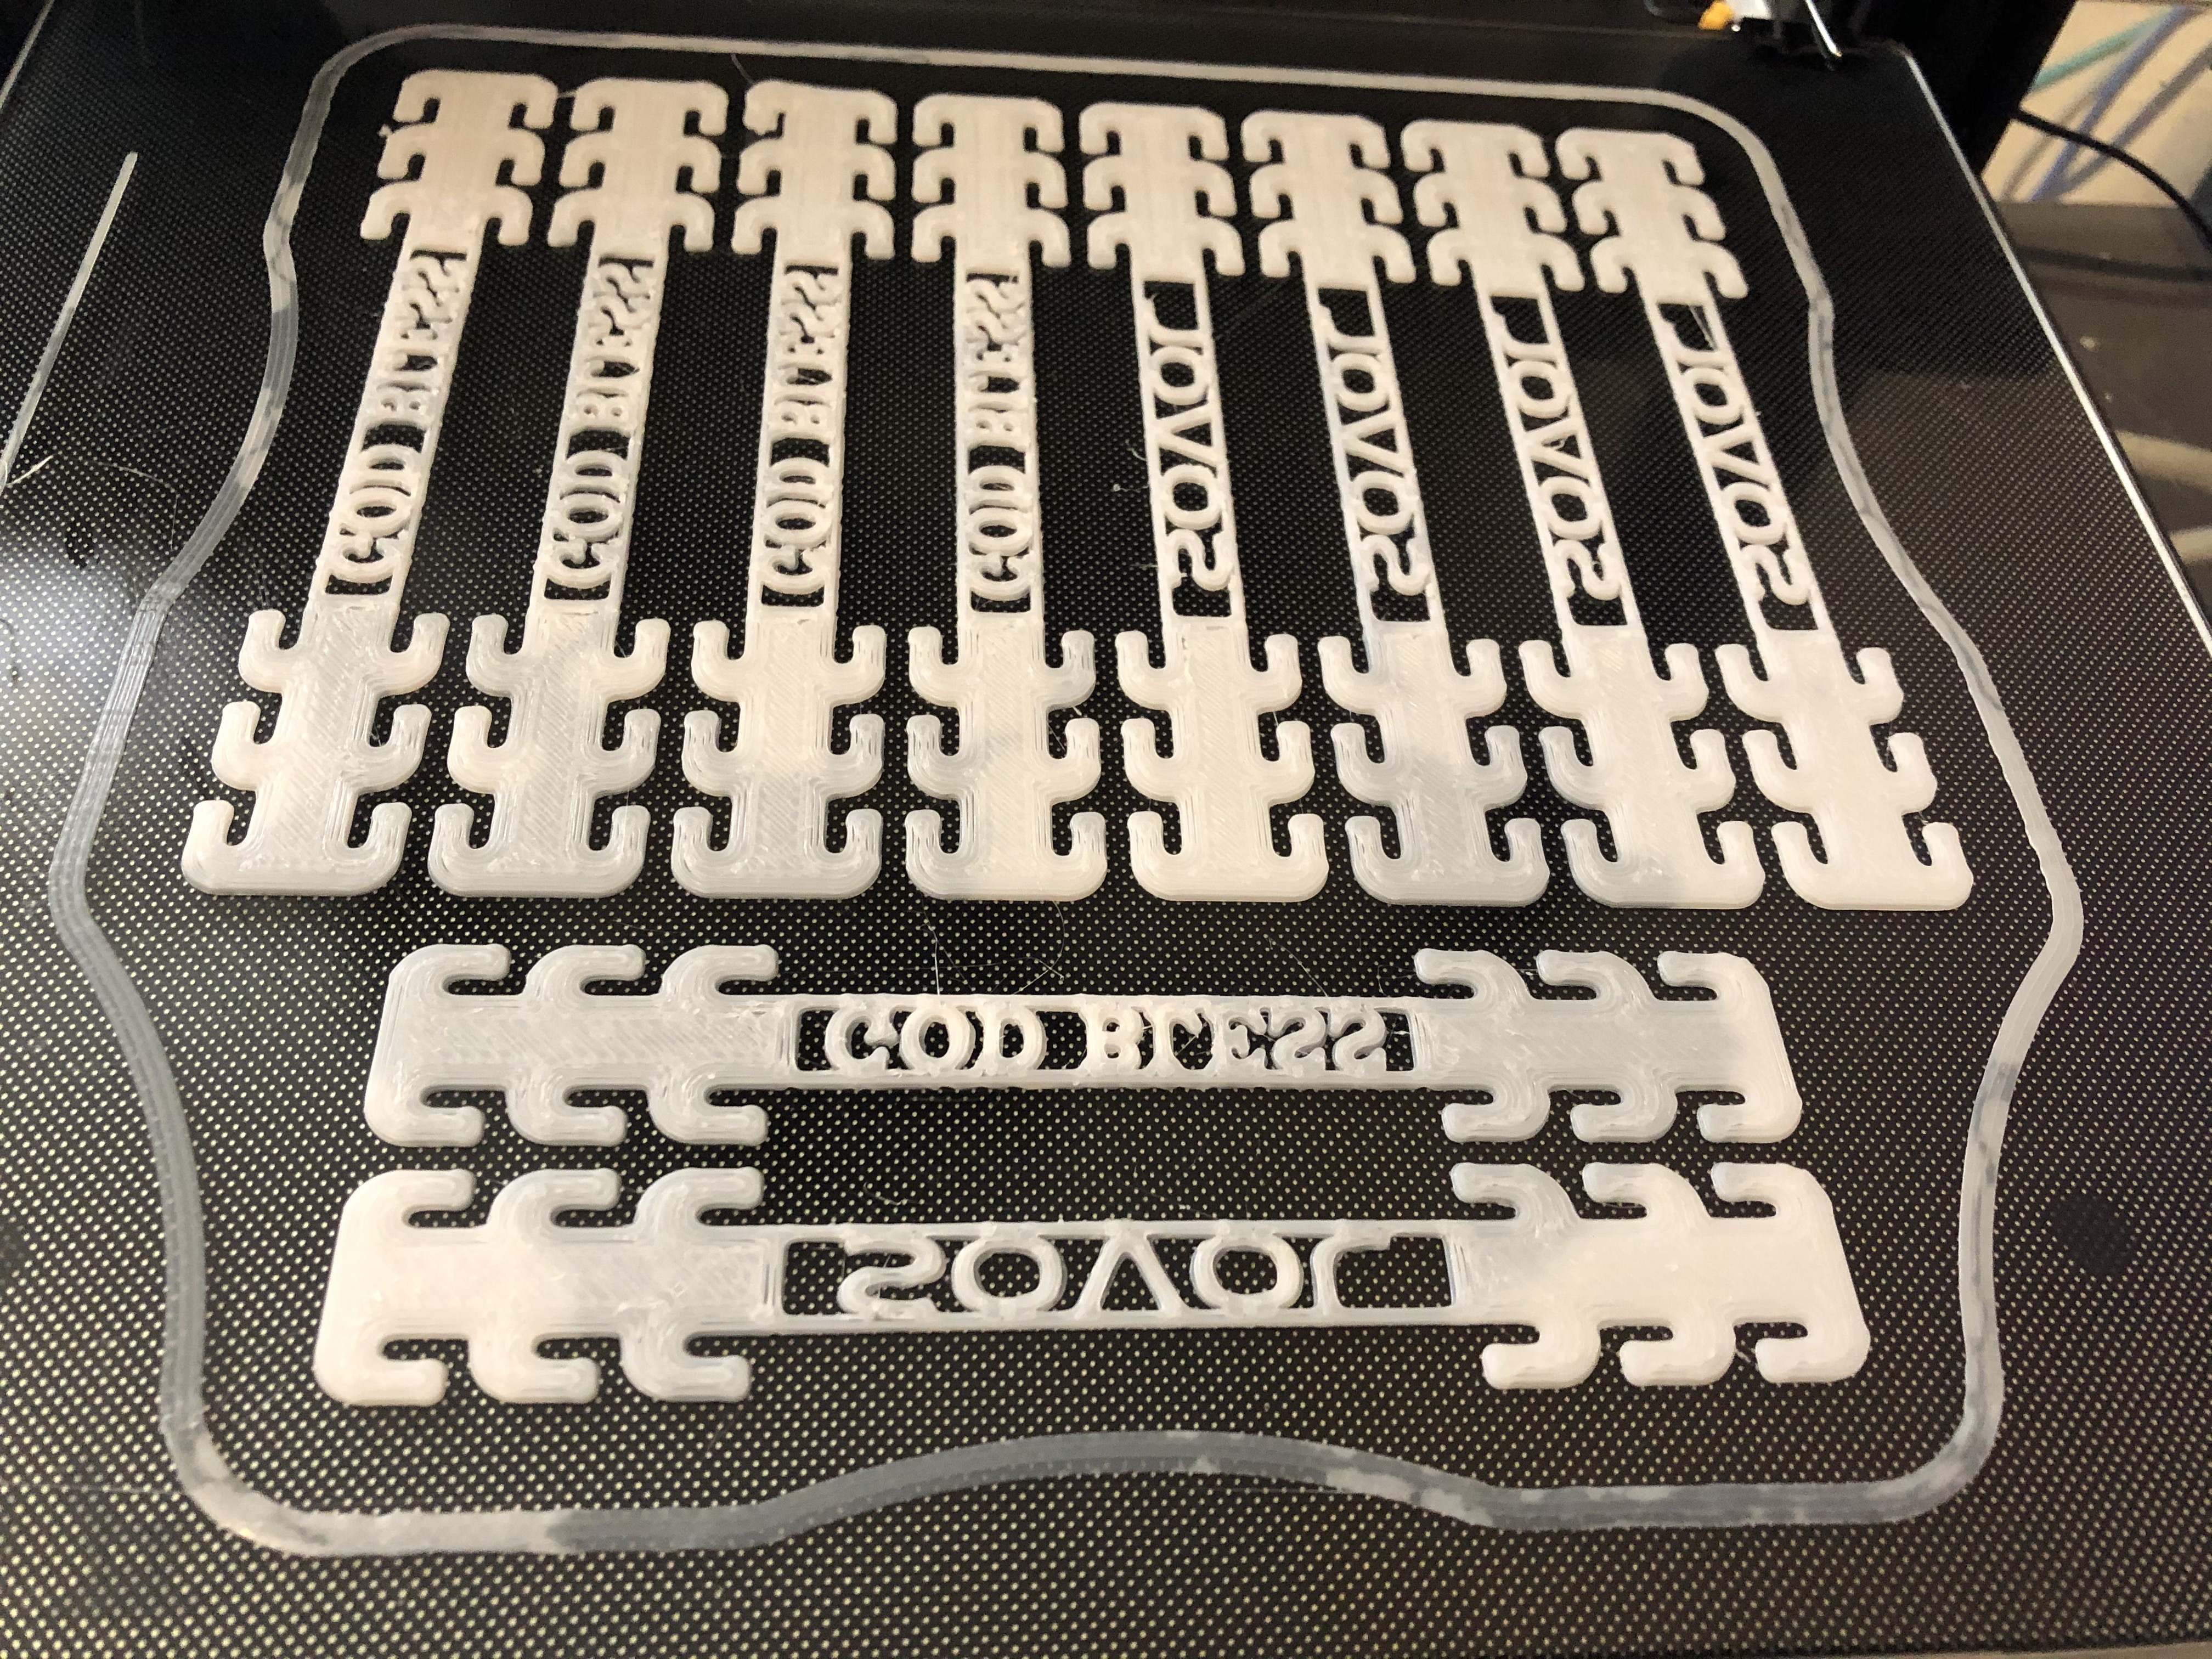
Try printing some of these "Ear Savers": bands that go behind your head and connect to the rubber bands / strings on standard medical masks. They relieve the tension normally applied to your ears. On Thingiverse, we've uploaded ear savers that have the phrase "GOD BLESS" and "SOVOL" on them. Again, print them in PETG using the above settings for best results.
How are you helping?
All of you Heroes At Home - let us know what you've done to help! Send us comments on the Creative Graphics Group Facebook page, and send us your images...

